
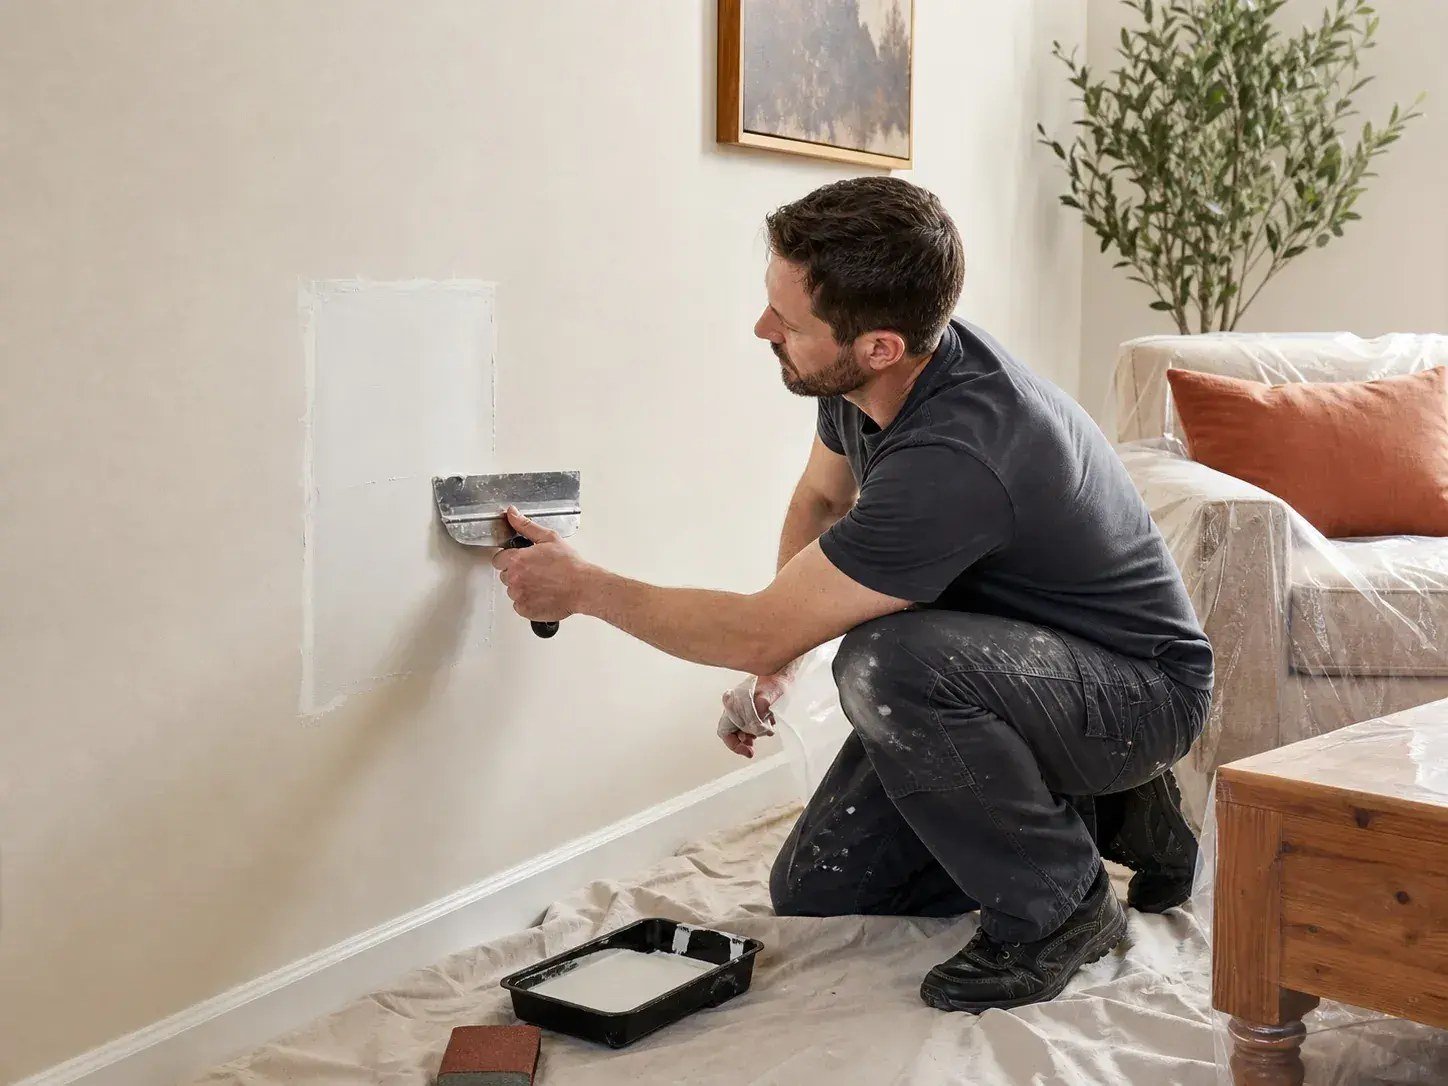
A neat patch is less about one clever trick and more about thin layers, honest drying time, and patience between each stage. The work follows a clear ladder set by the size of the damage. Tiny marks need almost nothing, a palm sized opening needs a patch, and a large hole needs new panel material backed by wood. Readers working toward seamless drywall hole repair that blends into the wall should treat the phases below as a single calm sequence: judge, trim, coat thinly, wait properly, sand honestly, and prime before any colour touches the wall. Rushed stages are the ones that show.
Phase One: Sizing Up the Hole and Choosing a Patch Style
Begin by naming what you are actually looking at. A wall of this kind is a gypsum core wrapped in paper, as the Wikipedia page on drywall panels and their makeup sets out in plain detail, and that paper face is part of its strength. Press gently around the damage. Sound edges feel firm, while crumbling or damp material must come away before any repair begins. Measure the opening across its widest point and sort it honestly: a pinprick class mark, a middle sized hole, or damage wide enough to see framing through. Each class has its own answer, and borrowing the answer from the wrong class is where most failed patches begin.
Nail holes, old anchor holes, and shallow dents ask only for lightweight filler pressed in firmly, left to dry, and sanded level. One small tub covers dozens of such marks and costs very little, which makes this class almost free for anyone patient. Never ask that same filler to span a real opening, though, because deep fills shrink as they dry and crack along their edges. A doorknob sized hole instead takes a mesh patch that sticks in place, or a fresh square of panel with a paper flange left around its edges, bedded into compound. Anything larger needs backing and a fitted piece, covered in the phases that follow.
Money belongs in this phase too, while choices are still open. Doing the work yourself costs little more than compound, a patch, filler, and abrasive sheets, even across several rooms. Hiring help for a small or medium hole often lands somewhere between the high tens and the low hundreds, and larger or multiple repairs climb into the mid hundreds. Most tradespeople charge a minimum simply to attend, so the smartest saving is gathering every repair across the whole home into one single visit. Texture matching, ceiling work, and any sign of water damage or mould raise both difficulty and price, and each deserves a mention when asking for a quote.
Gather tools before touching the wall, because mid repair trips to a shop waste drying windows and patience. The list is short: a utility knife, a wide flexible knife for spreading, a smaller knife for loading, compound, patch material, a sanding sponge, a damp cloth, painter’s tape for nearby trim, and a dust mask. Lay a sheet or old towel beneath the work area as well. Drywall dust travels surprisingly far on shoes and air currents, and ten seconds of floor protection saves a long cleaning session once the painting is done.
Phase Two: Trimming Torn Paper Back to Sound Edges
Compound cannot grip torn, lifted paper, so trim the wound before dressing it. Run a sharp utility knife around the hole and slice away every flap, bubble, and frayed edge until the paper lies flat and firm in a full circle. Wipe the area with a barely damp cloth to lift dust, then let it dry. For the mesh style, peel the backing, centre the patch over the opening, and press it flat with a palm and then a dry knife, working outward so no corner lifts. A patch that moves under your hand now will move under the compound later, only worse.
The flanged panel style asks for a little more care. Cut the fresh square slightly larger than the hole, score and snap its gypsum back while leaving the face paper wide on every side, and test the fit before any compound appears. Trim the opening square if needed so the piece sits snugly with its flange flat against the wall. For the largest damage, cut back to a clean rectangle, screw wooden strips behind the opening where hands can reach them, and fix the new piece to that backing. Whichever style the hole demands, finish this phase with sound edges, a stable patch, and a clean, dust free surface.
Phase Three: The First Thin Coat, Feathered Well Beyond the Patch
Load the knife lightly. The behaviour of the Wikipedia page on joint compound and how it behaves rewards restraint, because the material shrinks as it dries and thick coats sag, crack, and sand unevenly. Spread the first coat so it just fills the mesh or covers the seams, pressing firmly enough to push compound through the holes and into every gap. Then draw the knife outward in long strokes, thinning the edges until the compound fades into the surrounding wall over a span far wider than the patch itself. That wide, gentle slope is the whole secret: a narrow ridge catches light and announces the repair, while a broad feather disappears.
Work the coat and then leave it alone. Repeated passes over setting compound tear its surface and drag lumps into smooth areas, undoing careful work in seconds. Scrape any obvious ridges gently while the material is still soft, wipe the knife clean between loads, and keep the tub covered so grit stays out of the mix. One thin, honest coat that looks almost underdone is correct at this stage. The patch will still show through faintly, and that is expected; covering power arrives across several coats, not from one heroic layer.
Textured walls add one honest complication at this stage. A smooth patch on an orange peel or knockdown surface will stand out by texture even when its outline vanishes, so plan to recreate a light matching texture over the finished patch before priming, using a sponge, a brush dab, or a texture spray practised first on cardboard. Matching texture is a skill of approximation rather than perfection, and a close match under primer and two colour coats usually passes unnoticed by anyone not told where to look.
Phase Four: Drying, Sanding, and the Wider Second Coat
Waiting is a working phase, not an empty one. Each coat needs roughly half a day to a full day before the next, depending on thickness and how damp the room feels. Compound that looks dry on the surface can still hold moisture beneath, and recoating too soon invites bubbling, soft spots, and cracks that only appear after painting, when fixing them costs the most. A fan moving air gently across the room helps. Direct heat does not; it skins the surface while the depth stays wet, storing up trouble under a hard shell.
Once fully dry, sand with a medium grit sponge using light, wide strokes, and wear a dust mask while doing it. Older painted walls deserve a lead check before any disturbance, since sanding is exactly the moment old coatings become airborne dust. Wipe the wall down with a damp cloth and run a palm slowly across the repair: your hand finds ridges your eyes politely ignore. Then lay the second coat, thinner than pride suggests and feathered wider than the first in every direction, so the gentle slope extends and the patch sinks further into the plane of the wall.
Phase Five: A Final Skim Checked in Raking Light
The last coat is a skim rather than a layer. Drag a clean, wide knife at a low angle so the compound fills only the remaining pores, scratches, and shallow dips. Let it dry fully, sand it lightly, and then judge the wall the honest way: hold a lamp or phone light low against the surface so it rakes across the repair at an angle. Raking light exposes every ridge, edge, and hollow that flat room lighting hides, which is why painters trust it before declaring a wall finished.
Fix what the raking light reveals with tiny dabs of compound rather than another full coat. Sand those dabs once dry, wipe the dust away, and repeat the light test until the surface reads as one unbroken plane from every angle. Step back and view the wall from across the room as well, because some flaws appear only at distance. Patience in this phase separates a repair guests never notice from one the household apologises for every time a visitor stands near that wall.
Know the point where stopping is wiser than skimming. A patch that keeps sinking in the middle usually hides a deeper problem: a patch flexing on weak backing, compound laid far too thick below, or moisture still moving through the wall from somewhere unseen. Adding more coats over a moving or damp repair only builds a larger failure. Let it dry fully, press and listen for movement, and if the surface feels spongy or stains keep returning, open the area up and solve the cause before returning to the cosmetic stages.
Phase Six: Priming So the Repair Stays Invisible Under Paint
Primer is not an optional flourish at the end. Bare compound drinks paint differently from the paper faced wall around it, so an unprimed patch shows through the finish as a dull, flat ghost even when the sanding was perfect. Roll or brush primer across the whole repaired area and a little beyond its feathered edge, let it dry completely, and inspect once more under good light. Primer also seals the surface, so the colour coat sits evenly instead of sinking in patches and demanding extra coats to reach the same depth.
Only then does paint belong on the wall. Feather the first colour coat past the primed zone, allow proper drying, and add a second coat across a wider area still, ideally the whole wall section between corners, so texture and sheen blend without a visible boundary. Keep spare compound, abrasive, and notes about the paint used somewhere sensible, because walls collect new marks and the next repair will start faster for the record. Done in this order, with thin coats and full drying respected, the finished wall simply looks like a wall again.


One comment