
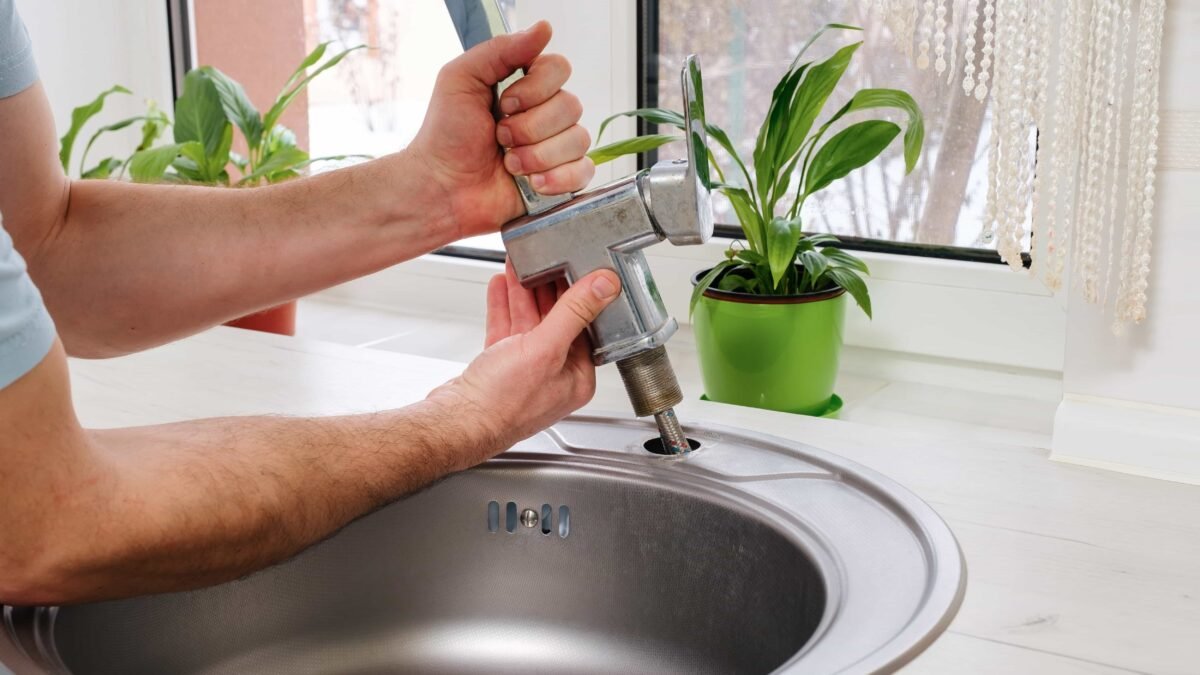
A new kitchen faucet transforms the sink more than almost any other single swap, which is why so many people pay a tradesperson handsomely to fit one. Yet the connections are standard, nothing needs soldering, and no pipe gets cut on a typical changeover. The hard part is not the plumbing. It is the half hour spent folded under the sink, working half by feel on fixings that may not have moved in years. Learn the sequence and the couple of tricks for stubborn hardware, and the job breaks down into small, calm steps.
Shut Off, Drain Down and Clear the Cupboard Battlefield
Start with the two angle stops under the sink, the small valves where the supply lines meet the wall. Turn each one clockwise until it stops, then open the old tap fully and let the lines drain themselves into the sink until the flow dies to a drip. Leave the faucet open while you work; it vents the lines, warns you at once if a valve is passing water, and gives any residual pressure somewhere harmless to go. A valve that will not fully stop the flow is worth knowing about now, not midway through removal.
Test that the valves truly hold before disconnecting anything. With the faucet open and the initial drain finished, watch for a returning trickle over a minute or two, and feel the supply lines for the telltale coolness of moving water. An old valve that weeps slightly is common and manageable with a tray and towels kept close, but a valve that runs freely means the main stop for the house joins the plan, and that is a decision to make with dry hands and a clear head.
Now clear the cupboard like you mean it. Every bottle, box and forgotten cleaning product comes out, because the working space is small and the worker is large. Lay an old towel or a sheet of card across the cupboard floor, put a shallow tray and a dry cloth within reach, and arrange real light: a head torch or a work lamp aimed up under the sink beats any amount of squinting. Ten minutes spent here saves an hour of groping later, and a clear, dry, lit workspace is what separates a calm swap from an ordeal.
Before lying down under the sink, unpack the new faucet completely on the counter and lay its parts out in fitting order: body, gasket or putty, mounting hardware, supply lines and any sprayer parts. Read the maker’s sheet once, fully, while standing comfortably, because every brand hides one small peculiarity, a clip that only fits one way or a line that must be connected before the body is mounted. Discovering that peculiarity in print is pleasant; discovering it by feel, upside down, with your shoulders wedged in a cupboard, is the sort of memory that puts people off plumbing for years.
Freeing the Old Faucet When Its Fixings Fight Back
Undo the supply lines at the valves first, loosening each connector over the shallow tray to catch the water that always remains in the line. Then turn to the fixings that actually hold the faucet to the sink, usually large nuts on threaded shanks tucked up behind the bowl where no ordinary wrench can swing. This is the territory of the basin wrench, a long handled tool with a swivelling jaw made for exactly this blind, narrow space, turning nuts you can feel but barely see.
Corrosion is the usual enemy. Where a nut refuses to move, apply penetrating oil, tap the fitting lightly to help the oil creep, and then walk away for a while. Patience outperforms force under a sink, because force in an awkward posture rounds nuts, twists shanks and cracks patience along with them. Work the nut a fraction in each direction once it begins to yield, easing the thread free of its own rust rather than tearing it out in one heroic pull.
Some fixings are simply finished. A nut that spins together with its corroded stem cannot be unscrewed by any wrench, and the honest last resort is to cut the stem from above the sink, since the old unit is headed for the scrap pile regardless. A small saw or a rotary tool makes short work of it, with care taken for the sink surface around the hole. Once the body lifts free, scrape the deck clean of old putty, scale and sealant, because the new faucet deserves a flat, clean seat.
Setting the New Faucet on Its Gasket and Tightening Evenly
Many sinks carry spare holes from earlier fittings, and a deck plate in the box exists to cover them neatly. Decide on the plate before the faucet goes anywhere near the sink, and test the whole assembly loosely in place so the handle swing, the spout reach and the look of the thing are judged with dry hands. Check also whether the maker wants the supplied rubber gasket under the body or a ring of plumbers putty, and follow that direction exactly, since the two systems seal differently.
Seat the body square on its gasket, aligned with the sink rather than with your hopes, and thread the mounting hardware up by hand first. Tighten the fixings evenly, a little on one side and then a little on the other, so the body draws down level and does not twist as it clamps. A faucet pulled down lopsided rocks in use, worries its own seal, and leans in a way the eye catches every single day. Snug and even beats tight and twisted at every stage of this job.
Before connecting anything, stand back and look. The spout should centre over the bowl, the handle should travel its full arc without meeting the wall or the window sill, and the body should resist a firm twist by hand. Small corrections cost seconds now and a full disassembly later, so make them while the underside is still empty of pipes. This pause, unglamorous as it feels, is where careful fitters earn their reputation.
Time expectations deserve an honest word here. A first attempt commonly takes somewhere between an hour and a half and three hours, and most of that time goes on getting the old unit out rather than fitting the new one. Knowing that in advance changes how the job feels: the slow removal is not failure, it is simply the shape of the task, and the fitting stage that follows often takes less time than making a cup of tea and drinking it slowly. Plan the swap for a morning with nothing pressing behind it, and the whole job stays calm.
Connecting Supplies Without Cross Threading or Overdoing It
Reconnect each supply line to its angle stop in the right order, hot to hot and cold to cold, keeping each line in a gentle curve with no kinks and no crossing that would confuse the next person under this sink. Start every connector by hand and turn it several full turns with fingers alone. A connector that will not start smoothly by hand is cross threading, and stopping to restart it costs a moment, while forcing it costs a fitting and floods the cupboard for thanks.
The rule for tightness is hand tight plus a modest extra turn with a wrench, and no more. The seal inside these connectors does the waterproofing, not the crushing force of the threads, and overtightening distorts that seal until the joint weeps precisely because it was attacked so enthusiastically. Firm, even and finished is the feel to aim for. If the faucet uses a pull out sprayer, reconnect its hose too, and clip its weight onto the loop of hose exactly as marked, so the sprayer head docks home and stays docked when released.
Keep the lines dressed away from the waste pipes and the cupboard floor, with slack arranged so nothing pulls sideways on a valve. Run a dry hand over every connector you have made and memorise how each one feels dry, because that memory becomes your leak detector in the testing stage. Then close the faucet, clear the tray away, and prepare to bring the water back.
Refill, Inspect Every Joint and Chase the Last Weep
Open each angle stop slowly, a quarter turn at a time, and let pressure build gently rather than slamming the new seals with a sudden surge. Run the faucet and flush it for a short while to clear any grit loosened by the work, then remove and rinse the aerator, which will have caught the debris the flushing stirred up. With the water on and the cupboard still clear, inspect every joint by touch, running dry fingers around each fitting in turn; eyes miss slow weeps in shadow, but fingertips find a cold bead of water instantly.
Leave the cupboard bare for the rest of the day and look in again later, because the slowest weep shows itself as a single drip on the cupboard floor hours after every test felt dry. A joint that weeps gets a small extra turn, never a heroic one, and a joint that still weeps after that gets remade with its seal reseated. These threaded fitting skills carry straight outdoors, where a broken sprinkler head is another water fixture swapped with basic tools, fresh seals and care not to cross the threads, and readers heading outside next can learn from the biggest mistakes when fixing a broken sprinkler head before lifting a spade.
Two references repay keeping nearby on the day. The encyclopedia entry on faucets lays out the parts of a modern faucet and how its seals and cartridges fit together, which sharpens the eye when you are judging whether a weep comes from a connector, a cartridge or the body itself. And the Delta Faucet support pages cover the tools and fittings for faucet work in practical detail, including the basin wrench work behind the bowl that decides whether the removal stage feels like a puzzle or a punishment.
Finish by putting the cupboard back together thoughtfully. Anything that lives under a sink should sit in a tray or a box that lifts out in one movement, so the next inspection, whenever it comes, takes seconds to arrange. Note the date of the swap and the make of the faucet somewhere durable, on a phone or a card taped inside the cupboard door, because cartridge and seal questions years from now are answered far faster with that small record than with guesswork. Then wash your hands, run the new tap, and enjoy the one part of the job that needs no instructions at all.


One comment