
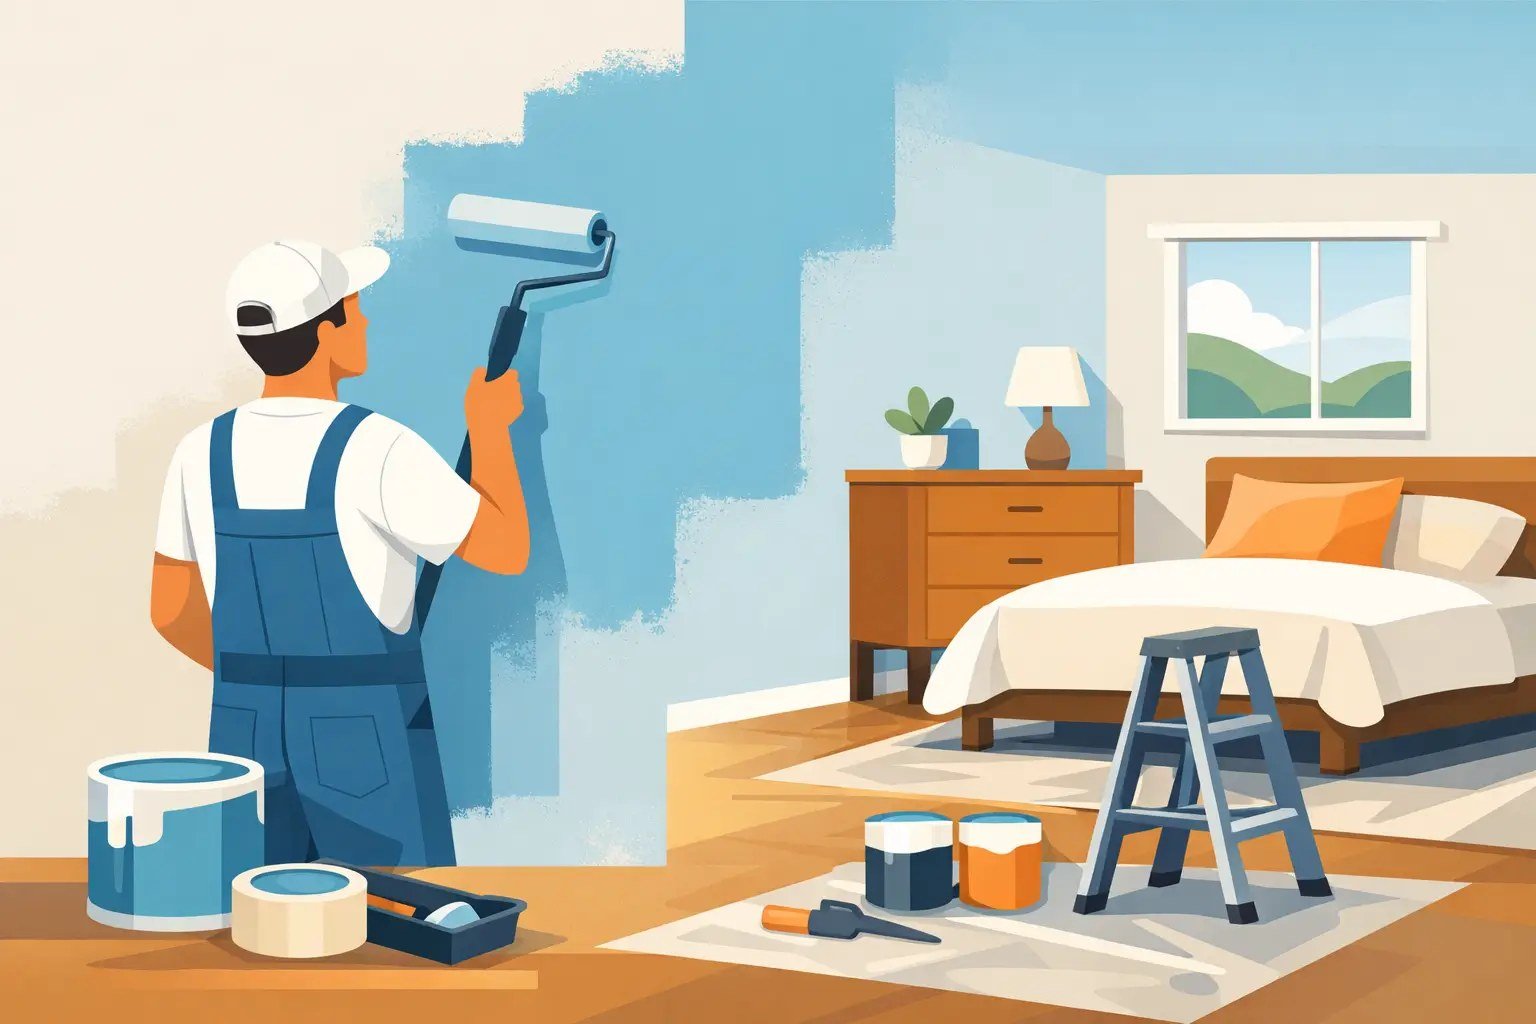
Walls forgive very little, yet a patient order of work can leave a finish that looks calm, even, and quietly professional. Every bump, drip, and dusty patch tells on the painter who rushed, while a methodical afternoon leaves nothing to explain. The craft lies mostly in sequence. Choose well, breathe safely, prepare the room, repair the surface, protect the edges, and only then let colour touch the wall. Readers aiming for a steps toward a smooth wall finish that lasts will find that no single stage is hard. Trouble arrives when stages are skipped, swapped, or squeezed into the final hour, and patience is the tool that prevents nearly all of it. Gather everything before starting, work in daylight where possible, and let each coat dry on its own schedule rather than yours.
Choose the Sheen That Suits the Room and Its Wear
Water-based latex paint suits most homes because it dries without heavy fumes lingering for days, cleans from tools with plain water, and holds its colour well. Within that family, sheen decides how a wall behaves. Eggshell and satin soften minor flaws while shrugging off scuffs, and both wipe clean with a damp cloth, which makes them the natural choice for living rooms, halls, and bedrooms that see daily life up close. Flat paint hides imperfections best of all, yet it marks at a touch and resists washing, so reserve it for calm ceilings and low-traffic walls. Semi-gloss belongs on trim, doors, and cabinets, where hardness and washability matter more than subtlety.
Primer deserves a decision of its own. Paint carrying primer within it handles a wall already painted in a similar shade perfectly well. Bare drywall drinks paint unevenly, though, and a dramatic colour change can ghost through several coats, so both cases call for a separate priming layer underneath. A standard room generally needs a couple of gallons to cover its walls twice, and buying decent paint pays for itself in coverage. Thin bargain paint often demands an extra coat that erases the saving while adding a day of work. Test the chosen colour on a broad patch and view it morning and evening, because light rewrites colour more honestly than any shop display.
Set Up Ventilation and Protection Before Opening a Tin
Age changes the safety picture entirely. Homes built before the late seventies may carry lead in older layers, and that paint must never be dry sanded, burned, or scraped casually. Test any suspect surface first, and where lead is present, follow lead-safe working rules or hand the job to a certified specialist. The essential federal advice lives at the federal information on lead hazards in homes and paint and should be read before touching an old wall, not after dust already hangs in the air. Children and pets stay out of the room until surfaces are dry and debris is bagged. Safety set up calmly at the start costs minutes. Safety improvised mid-job costs far more.
Air comes before colour. Open windows on opposite sides of the room where the layout allows it, and set a fan to draw air outward rather than blasting dust across wet walls later. Paints low in volatile organic compounds ease this stage greatly in an occupied home, reducing the fumes that make eyes water and heads ache. The chemistry behind those compounds is explained in an explainer on volatile organic compounds and indoor air, and a short read there clarifies why ventilation matters even with modern paints. Wear a proper dust mask or respirator for any sanding, and eye protection whenever working overhead or scraping. Gloves keep skin from drying and cracking after repeated washing.
Clear, Cover, and Unfix Everything the Roller Might Catch
Empty the room as far as sense allows. Curtains come down, pictures come off, and outlet covers and switch plates unscrew and rest in a labelled bag with their screws, because tiny hardware vanishes with supernatural ease. Furniture that must stay gathers in the centre, wrapped fully so drips find cloth rather than upholstery. Canvas drop cloths earn their place here. They stay where they are laid, absorb spills where they land, and fold away for the next room. Thin plastic sheeting, by contrast, slides underfoot and lets spilled paint skate across a floor in a shining trail that reaches the hallway before anyone notices.
Run cloths tight along the base of each wall so the roller path is protected from edge to edge. Pull out nails, hooks, and old anchors as you go, since each one becomes a repair later anyway. Check the ceiling line and corners for cobwebs and dust, and brush them down now rather than painting them into the finish. Set up a steady work light if daylight is weak, angled across the walls so flaws cast small shadows and announce themselves. A room cleared with this much care feels larger and calmer, and painting inside it becomes a pleasure rather than an obstacle course performed on tiptoe.
Fill, Sand, and Wipe Until the Surface Feels Flat
Repair decides the finish long before colour arrives. Press spackle into every nail hole, dent, and hairline crack with a flexible putty knife, overfilling each spot by a whisper because the filler shrinks slightly as it dries. Leave repairs until fully dry and firm, then sand them flush with a sanding sponge, working in small circles and checking progress with a bare palm. The hand is the truest instrument in the room. Any bump a palm can feel, paint will advertise to the whole street, especially where window light rakes across the wall at a low angle in the late afternoon.
Dust is the quiet enemy that follows sanding. Loose powder sitting on a wall kills adhesion, and paint laid over it can peel in sheets months later. Wipe every repaired patch and then the whole wall with a cloth that is damp rather than wet, and let the surface dry before masking begins. Glossy older paint benefits from a light scuff sanding across its whole face, giving the fresh coat a grip it would otherwise lack. Cracks that reopen after filling may signal movement in the wall itself, and those deserve a flexible filler and a patient second pass rather than a thicker pile of ordinary spackle.
Mask Edges So Lines Stay Honest and Sharp
Tape protects trim, baseboards, window frames, and the ceiling line wherever a clean border matters. Lay each strip smoothly, then press its inner edge down firmly with a fingertip or the flat of a putty knife, because paint bleeds beneath any loose edge and ruins the line the tape was meant to save. Overlap strips slightly at corners and keep the roll moving in long lengths rather than short scraps, which lift more easily. Where tape meets a rough or dusty surface, wipe the surface first and press twice. Masking feels slow while it happens and feels miraculous later, when borders emerge crisp and no rescue work with a tiny brush is needed.
Mask beyond the obvious edges as well. Cover door hardware that cannot be removed, shield the tops of baseboards where drips love to gather, and protect flooring right up to the wall line even where drop cloths already lie. Keep a damp rag within reach for the whole session, since a drip wiped within seconds vanishes, while a drip found an hour later becomes a small excavation project. Note which tape you used and how long it stayed on, because adhesives grow stubborn with time and heat. Good masking is invisible in the final room. Only the sharpness remains, quietly announcing that care was taken here.
Brush the Borders, Then Roll in Overlapping Bands
Cutting in comes first on every wall. Dip an angled sash brush so the bristles carry paint along their lower stretch, tap off the excess against the tin side rather than wiping it away on the rim, and brush a narrow band along the ceiling line, down the corners, and around trim. Hold the brush at a slight angle and let the bristle tips ride the edge, breathing out slowly as the line runs, because a steady hand follows a steady breath. Work a section at a time rather than edging the whole room, since the brushed band must still be wet when the roller reaches it. Wet edge meeting wet edge blends without a seam. Dry edge meeting wet paint leaves a ridge that catches light forever.
Rolling rewards rhythm over force. Fit a medium nap cover suited to smooth or lightly textured walls, load it fully but never dripping, and spread paint in a wide zigzag before filling the shape with parallel strokes. Keep pressure light and even. Pressing hard squeezes paint from the cover and leaves stipple marks and thin patches that demand yet another coat. Overlap each band by a generous margin while the neighbouring band still shines wet, and finish each section with one gentle pass in a single direction. Step back often and view the wall from the doorway, where uneven coverage shows itself honestly and early enough to fix.
Peel Tape Back Before the Last Coat Fully Sets
Timing the tape removal saves the line you worked so hard to create. Peel each strip slowly back on itself at a low angle once the final coat has lost its wet shine but before it hardens fully. Pulling too early smears, pulling too late can tear a skin of paint away with the tape and leave a ragged cliff where a border should be. Where a stubborn edge resists, score it lightly first and peel again. Most latex coats accept a second coat after a few hours, yet full curing takes about a month, so treat fresh walls gently, delay scrubbing for at least a fortnight, and hang pictures with patience rather than enthusiasm.
Cleanup closes the job with the same care that opened it. Wash brushes and rollers promptly, shape the bristles, and store covers so they dry without crushing. Seal tins tightly with a clean rim so the leftover paint stays usable for touch-ups, and label each tin with the room and colour while memory is fresh. Any rag soaked in solvent or oil must dry flat outdoors, spread open, because a bunched oily cloth can heat itself and ignite without any flame nearby. Step back at the end and read the walls in evening light. Calm, even, and quietly professional was the aim, and a patient sequence delivers it.


3 comments