
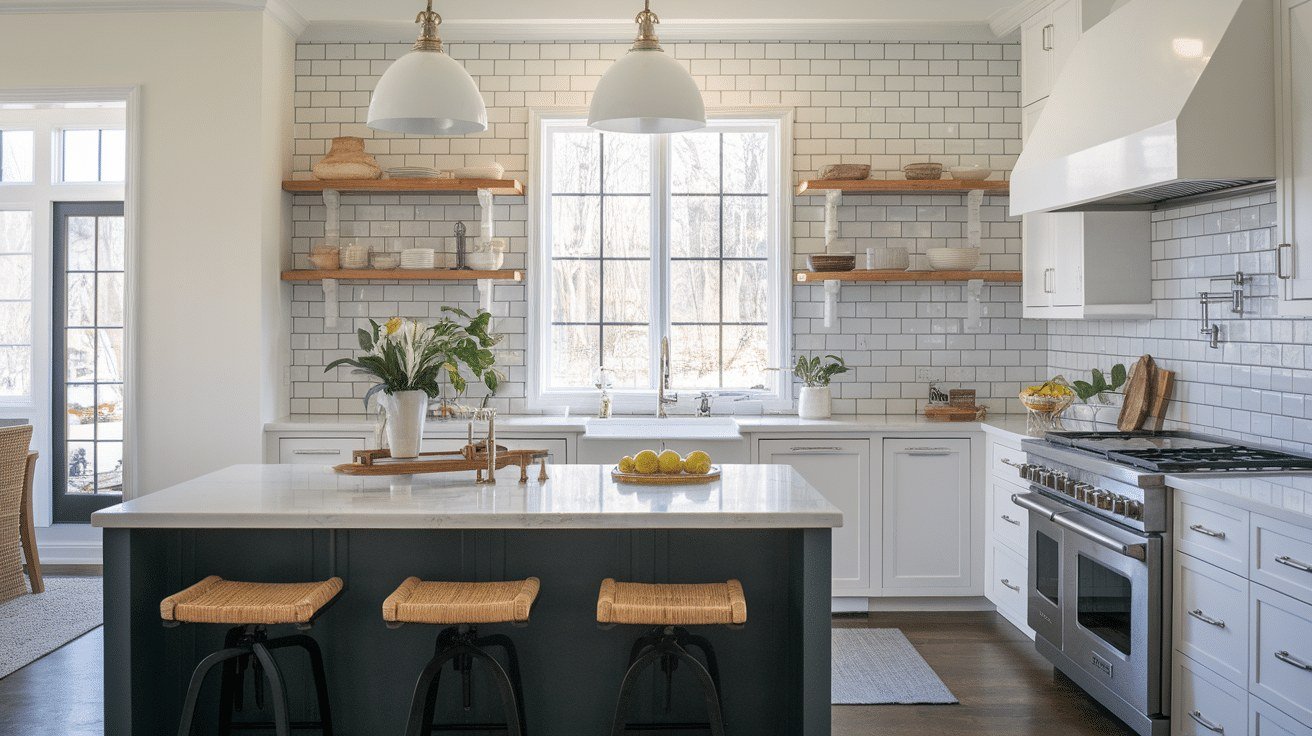
A backsplash rewards patience more than speed, because adhesive, grout, and sealant each demand their own curing window. Laying the work out as timed stages, one curing window at a time, keeps spending and stress both low. The wall between the counter and the upper cabinets looks small from across the room, yet it collects steam, grease, tomato splashes, and kettle spray every single day. Covering it with tile turns a painted surface that marks easily into one that wipes clean in seconds. Because the area carries no structural load and sits outside any shower or bath waterproofing duty, it forgives small errors that would matter far more on a floor. A slightly uneven joint can be softened by grout colour, a cut edge can hide beneath a cabinet, and the whole project can pause overnight without leaving the kitchen unusable. Treating the work as five clear phases, each with a start, a finish, and a waiting period, turns a vague weekend ambition into a schedule that a first timer can actually follow.
Phase One Measuring the Wall and Ordering Tile With Spare Stock
Begin with a tape measure, a notebook, and a slow walk along the counter. Measure the length of each run of wall, then the height from the counter surface up to the underside of the wall cabinets, and write both figures down twice before trusting them. Multiply length by height for each run to find the area, then add the small sections around a window frame or beside a tall oven housing rather than pretending the wall is one perfect rectangle. Anyone wondering whether installing a backsplash with no prior experience is realistic can take comfort from this stage, because careful measuring is ordinary arithmetic, not a trade skill. Choose the tile before ordering anything else. Ceramic costs less than porcelain and cuts more easily, while porcelain is denser and harder wearing. Classic rectangular subway shapes hide minor layout slips kindly because their staggered pattern distracts the eye from tiny spacing differences. Small mosaic pieces mounted on mesh sheets bend gently over uneven plaster and need far fewer individual cuts, although their many joints demand more grout. Whichever format wins, order extra from a single production batch. Spare pieces cover breakage, future damage, and the odd cut that goes wrong, and matching colour later is unreliable because batches vary slightly in shade. Keep the receipt, store spares flat in a dry cupboard, and resist opening every box at once.
Materials deserve the same calm attention as the tile itself. Thinset mortar forms the bond between tile and wall, and the bag weight, the trowel, spacers, a spirit level, a sponge, and buckets belong on the shopping list before work starts. Reading a broad overview of tile materials and their applications helps when comparing ceramic, porcelain, stone, and glass, since each behaves differently under a cutter and against a wall. Renting a wet saw for a single day usually beats buying one, and a simple snap cutter handles straight lines in soft ceramic at very low cost. Plan the cutting list on paper now, while changes cost nothing, instead of discovering a shortage halfway through a mixed batch of mortar.
Phase Two Preparing Counters, Outlets, and Wall Surfaces for Adhesion
Preparation decides whether tile stays on the wall for decades or loosens within a few winters. Clear the counters completely, then cover them with thick cardboard or a dust sheet taped along the front edge, because dropped tools and gritty mortar both scratch work surfaces. Switch off power to the sockets on the wall at the consumer unit, remove the faceplates, and loosen the fittings slightly so tile can slip behind their edges later. Leave the power off while working near those fittings, and test with a plug in tester or a lamp if there is any doubt at all. Wash the wall with a degreasing cleaner, paying special attention behind the hob where cooking vapour leaves a fine film that clean looking paint can hide. Rinse, let the surface dry fully, and then run a hand across it. Powdery paint, flaking patches, and glossy finishes all weaken adhesion. Sand glossy areas lightly to give the mortar something to grip, fill dents with a suitable filler, and allow repairs to harden before moving on. Bare plaster should be sound and dust free. Very absorbent walls may drink moisture from mortar too quickly, so follow the mortar maker guidance about priming rather than guessing. Mark a level line for the lowest row using a spirit level or a laser level, since counters are not always perfectly level themselves, and a row that follows a sloping counter will announce the slope to everyone who enters the room.
Phase Three Setting Out Rows and Fixing Tile Into Mortar
Dry layout comes before any mixing. Stand tiles along the counter in a trial row, with spacers between them, and check where the final piece lands at each end. A tiny sliver at a corner looks untidy and cuts badly, so shifting the starting point by half a tile often balances both ends with pieces of a sensible width. Decide how the pattern meets the window, the hob, and the underside of the cabinets, and mark cut lines in pencil on the tile face where a marker will not stain. Only then mix mortar, and mix less than instinct suggests. Thinset stiffens in the bucket once its working time passes, and remixing a dying batch with extra water weakens the bond. Drag the smooth edge of the trowel across a modest patch of wall to lay down the mortar, then rake the toothed edge back through it at a steady angle, leaving ridges that stand at an even height. The notch size should suit the tile size named on the mortar bag. Press each tile into place with a slight twisting motion, check alignment against the level line, and insert spacers as the row grows. Wipe stray mortar from tile faces at once with a damp sponge, because dried smears fight back later. Work upward in courses, pausing to sight along the surface for tiles sitting proud of their neighbours. Around sockets, cut carefully, switch nothing back on, and keep metal tools away from exposed terminals. When the wall is covered, stop. The mortar now needs its curing window, undisturbed, even though the room already looks nearly finished.
Phase Four Grouting Joints Once the Mortar Has Fully Cured
Grouting too early is the classic act of impatience on this project. Mortar that feels hard at the surface may still be gaining strength underneath, and dragging a grout float across unset tiles can nudge them out of line. Wait for the period stated on the mortar bag, remove the spacers, and pick any mortar lumps from the joints so the grout can fill the full depth evenly. Mix grout to a smooth paste, again in a modest quantity, and press it diagonally across the joints with a rubber float, working the material down into every gap rather than skimming over the top. Grout does more than decorate. Anyone reading an explanation of grout types and the purpose grout serves will see that it locks tiles together, supports their edges, and sheds everyday splashes, while remaining a material that benefits from sensible care over the years. Choose a colour with the finished room in mind. A matching shade gives a calm, continuous surface and hides minor width changes, while a contrasting shade celebrates the pattern but exposes every wobble. Work in sections, then let the grout firm until a finger pressed on a joint leaves only a faint mark. Shape the lines gently, clear the surplus, and leave hands off the wall while the joints harden through their own curing window.
Phase Five Washing Haze, Sealing Edges, and Final Inspection
As grout dries it leaves a dull film across the tile faces called haze. Wait until the joints are firm, then wash the wall with a well wrung sponge, rinsing the sponge often in clean water so loosened residue is lifted away instead of being spread thinner. Too much water at this stage can weaken fresh joints and cloud their colour, so patience and frequent rinsing beat enthusiasm with a soaked sponge. Buff the surface with a dry soft cloth once the film lifts, and inspect the wall from several angles under both daylight and evening lighting, because haze hides under one and glares under the other. The junction where tile meets the counter should not be grouted. That corner moves slightly as materials expand and settle, and a hard filler there tends to crack. A flexible sealant belongs in that line instead. Apply a neat bead, smooth it with a wet fingertip or a shaping tool, and peel away masking tape promptly for a crisp edge. Some grouts on splash prone walls benefit from a sealer once fully cured, following the product instructions about timing. Refit the socket faceplates only when the surrounding work is dry, restore power, and stand back for a final slow inspection of lines, corners, and cut edges before declaring the kitchen finished.
Where Money Is Saved Without Weakening the Finished Surface
Costs stay controlled when savings come from planning rather than from thinner materials. Standard tile formats cost less per area than unusual shapes, need fewer special cuts, and are easier to replace years later. Renting a wet saw for the cutting day, borrowing a laser level, and returning unopened boxes all trim spending without touching quality. Buying mortar and grout in sizes matched to a small wall avoids paying for material that hardens in storage. The largest saving, though, is avoiding rework. A measured wall, a dry layout, cuts planned before mixing, and respect for every curing window mean tiles are bought once, set once, and grouted once. Rushing to grout on the same afternoon as setting may feel efficient, yet disturbing soft mortar or trapping moisture can undo careful work and force replacement pieces that no longer match the original batch. Slow phases also protect the rest of the kitchen. Covered counters, washed tools, and sealed edges leave no repair bills trailing behind the project. A backsplash done this way is not the fastest route to a finished wall, but it is a dependable one, and the finished surface will quietly prove the value of every hour spent waiting.
Keep a simple written order of the phases on the fridge door, with the waiting periods noted beside each stage, and tick stages off as they finish. That small habit stops well meaning helpers from grouting early, switching sockets back on too soon, or washing joints before they have firmed properly.


One comment