
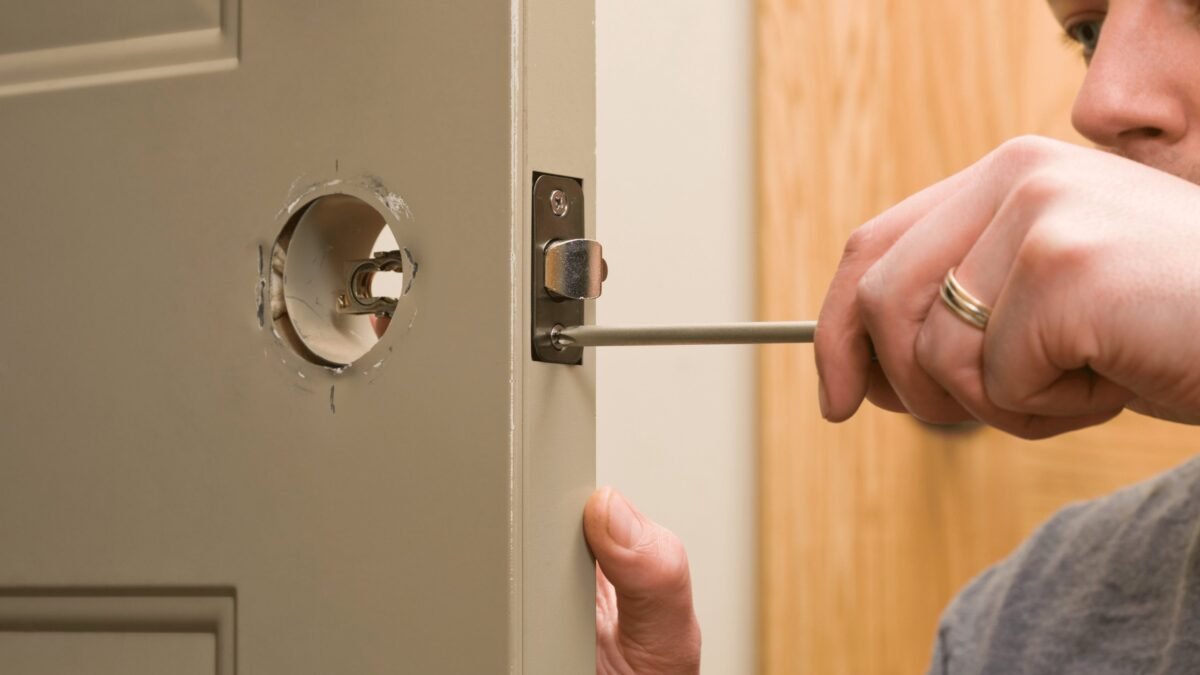
A door can look perfectly shut and still drift open when the cat brushes past or the heating kicks in. That small betrayal means the bolt on the edge never truly entered its keeper on the frame. The miss is often tiny, a fraction you could cover with a fingernail, yet it decides whether the door stays shut or wanders. Guessing at repairs makes extra holes and extra frustration. Letting the bolt mark its own landing spot turns the job into simple geometry.
Getting two parts to meet truly is a patience game in any home project, and a builder levelling the first ring of blocks to build a fire pit safely learns the same lesson, since nothing later sits right until the first course sits level. A door rewards exactly that temperament. Work through the stages in order, change one small thing at a time and check the result after every change, closing gently rather than with a hopeful slam. Work in that order: find the truth, read it, fix the cause, and only then move any metal.
Stage One Is Marking Where the Bolt Really Lands
Every honest repair of a wandering door starts with evidence, not with a screwdriver. Smear the bolt’s angled end with something that transfers on contact: a smear of lipstick, a rub of chalk, a dab of wet paint or a stripe from a marker pen all work, and most homes hold at least one of them. The coating only needs to cover the angled face and the flat end of the bolt, the parts that would meet the frame. Wipe away any excess, because a thick blob prints a thick lie about where contact happens.
Now close the door the way the door wants to be closed, slowly and without forcing it, until it reaches the point where it normally gives up and drifts. Let the bolt rest against the frame or the keeper plate for a moment, then open the door and look at the print it left behind. The Family Handyman guidance on fixing a door latch recommends this mark first method for a sound reason: the transferred smudge shows exactly where the bolt strikes, in height and in sideways position, and it replaces twenty minutes of guessing with one honest fact. Photograph the mark before wiping anything clean, for later comparisons.
Repeat the test once more to be sure the mark is stable rather than a fluke of one closing. If the print lands in a different place each time, the door is moving on loose hinges as it swings, and that looseness becomes the first thing to fix. If the print lands in the same wrong place twice, the miss is consistent and measurable, and the repair becomes a matter of moving one part toward the other by exactly that distance. Either way, you hold a measured problem instead of a mysterious one.
Reading the Mark to Name the Direction of the Miss
A mark sitting low on the keeper, or below its opening entirely, tells the classic story: the door has dropped on its hinges, dragging the bolt down with it. A mark sitting high suggests the opposite, rarer in practice, and often traces back to a hinge that was packed out at some earlier repair, or a frame that has lifted with seasonal movement. A mark that lands fully on the flat plate beside the opening, at the right height, means the bolt is not travelling far enough sideways, or the plate sits too far from the door edge for the bolt to reach into its hole.
Depth matters as much as direction. A bolt that only kisses the front edge of the opening, printing a thin crescent, is entering but not seating; it will hold on a still day and surrender to the cat. A bolt printing squarely on the plate with clear space on every side of the opening is missing by a distance worth measuring against a fingernail or a coin’s edge. Small misses, a hair or two wide, belong to the gentle fixes; larger ones, a visible step, belong to the structural ones. Naming the size of the miss now protects you from reaching for a big fix to cure a small one.
Also read the door itself while you are reading marks. Run your eye along the gaps around the closed door: a gap that narrows toward the top on the latch side, or widens toward the bottom, confirms the slab is hanging crooked in its frame. Push the door gently near the top hinge and watch for movement. A door should feel like one solid piece with the frame when its hinges are sound. Any rocking or visible shifting at the hinges explains a wandering mark better than any fault in the latch, and points the next stage squarely at the hinges.
Correcting the Hinges That Let the Slab Drop
Most dropped doors are not bent, warped or ruined. They are simply heavy, and their weight hangs from the top hinge every hour of every day, slowly working its screws loose in timber that has been drilled, dried and stressed for years. Open the door and support its weight from below with a folded magazine or a wedge, then work through the top hinge screws one at a time. Many will turn a quarter or half rotation before they bite, and that small tightening alone can lift a bolt back into line. Test with a fresh mark after tightening; never assume one fix has landed until the bolt prints its new address.
Where a screw spins without biting, its hole has worn wide. The standard remedy, described in established door repair guidance, is to replace one screw in the top hinge with a far longer one that passes through the frame and bites into the solid wall framing behind it. That long screw does not merely hold the hinge; it pulls the whole frame fractionally toward the wall, lifting and steadying the door. Swap one screw, test, and only swap a second if the mark still sits low. Packing a worn hole with glue coated wooden pegs, trimmed flush and left to set, gives ordinary screws a second life where a long screw cannot be used.
The bottom hinge plays a quieter part. A thin packer behind it, a sliver of card or a purpose made shim, pushes the bottom of the door outward and tips the top inward, which can correct a bolt that strikes too far toward one side of its opening. Hinge work is slow because every change must be tested with a fresh mark before the next begins, and stacking three untested changes at once leaves you unable to say which one helped. Seasoned repairers accept the rhythm: adjust, mark, read, adjust. The door is geometry, and geometry answers patience with precision.
Coaxing the Keeper Plate for Near Misses
When the mark shows the bolt landing close, grazing the edge of the opening or printing a hopeful crescent on its rim, the keeper plate can often be coaxed rather than moved. Many plates hide a small inner tab, a tongue of metal bent into the opening, whose whole purpose is final guidance: it catches the angled face of the bolt and steers it home during the last sliver of travel. Bending that tab a fraction toward the incoming bolt, with the tip of a screwdriver, widens the target the bolt sees without moving a single screw.
A flat needle file offers a second gentle option. A few strokes along the edge of the opening where the mark sits widest opens the doorway for the bolt by a hair, often all that a near miss needs. File a little, test with a fresh mark, and stop the moment the bolt seats with a clean, soft click. These nudges share a virtue worth protecting: they are reversible or nearly so, and doors move with the seasons as timber swells in damp months and shrinks in dry ones. A fix that can be eased back respects that movement; metal removed in a hurry cannot be put back.
Resist the temptation to bend, file and shift the plate in one sitting. Each coaxing changes what the mark will say, and the mark is your only truthful witness. A near miss cured by the tab alone leaves the plate exactly where the builder put it, with its screws in sound timber and its mortise neat. Save the bigger surgery for the doors that truly need it, the ones whose marks sit a clear step away from the opening no matter how honest the hinges have been made.
Moving the Plate Properly When the Gap Is Larger
A large miss, confirmed by repeated marks after the hinges have been made sound, earns the plate a new home. Remove its screws and lift it away, then hold it at the corrected position the marks dictate, centred on where the bolt actually travels, and scribe its outline and screw positions with a sharp pencil. The plate must sit flush in its shallow mortise; a plate standing proud catches the bolt’s shoulder, and one sunk too deep lets the door rattle. The This Old House door repair guidance sets the standard here for careful mortise work and honest clearances, and its patience is worth copying: ease the recess in shavings, never chunks, testing the fit as you go.
Old screw holes are the trap in this stage, because a new screw placed near an old hole will wander into the void and pull the plate back toward its wrong position. Fill every old hole that falls anywhere near the new fixings: tap in slender wooden pegs coated in wood glue, or use matchstick sized offcuts of real timber, let the glue set fully, then trim them flush with the surface. Drill slender pilot holes at the fresh positions so the screws drive straight and grip the sound wood and the filled plugs rather than splitting them. That unglamorous filling and waiting is what keeps a moved plate moved.
Fit the plate, drive the screws firmly, and test the door the way life will test it: a gentle close from a hand’s width away, several times over, then a slow push against the closed door to feel whether the bolt holds without spring. The latch should click once, cleanly, and the door should sit without rattle or bounce. If the house breathes with the seasons, favour the setting that suits the current one and keep the tab trick in reserve. A door that closes with a soft click and stays closed against cats, draughts and heating cycles is the whole prize, and it was won by marks, patience and geometry rather than by force.


