
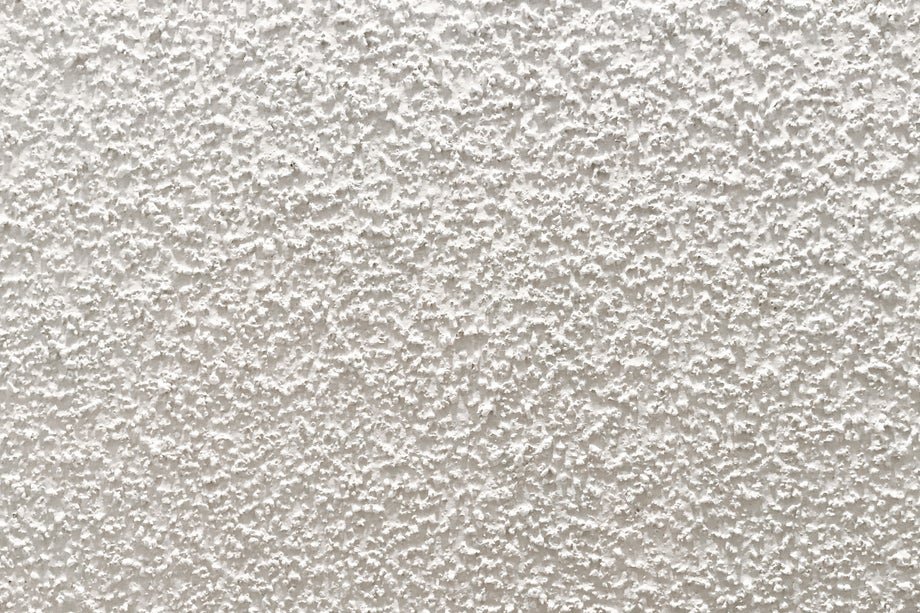
Textured ceilings date a room instantly, tempting owners to scrape first and ask questions later. That order is exactly backwards where older coatings are concerned, because material applied decades ago may carry hazards invisible to the eye. Testing a small sample through a proper laboratory costs little patience compared with disturbing an entire ceiling blindly. Once results are known, removal becomes a calm, methodical job rather than a gamble. Nothing about the work that follows needs to feel hurried. A ceiling waited years under its texture, and a few days spent understanding it properly will not diminish the transformation waiting underneath.
Understanding Textured Ceilings in Homes of Different Eras
Sprayed and painted textured finishes became a household habit during the middle decades of the last century, when builders valued them for hiding imperfect boards and softening sound between floors. The bumpy finish forgave uneven joints, uneven lighting, and rushed plaster work all at once, which explains why it appears in so many living rooms, hallways, and bedrooms of that period. Later decades favoured smoother surfaces, and application tailed off as tastes changed and as concern grew about ingredients used in some older mixes. Age alone cannot confirm what a particular ceiling contains, yet era remains a useful first clue, with older installations deserving the greatest caution before any surface is broken.
Reading a ceiling before touching it involves more than guessing its age. Look for patches where texture differs, since later repairs may have used a different mix from the original coat. Notice paint layers, because a heavily painted surface behaves differently from a bare one when wetted, and notice any sagging, cracking, or staining that hints at trouble above. Overhead marks repay study in their own right, and ceiling water stain leak signs help separate a harmless historic mark from damp that is still active, a distinction that prevents wasted effort below while damage continues unseen above. Any ceiling showing active moisture should have its leak traced and fixed before cosmetic work begins.
Homes from different eras also differ in what surrounds the texture. Boards beneath older finishes may be plaster and lath rather than modern sheet material, and they respond differently to soaking and scraping. Electrical fittings, coving, and ceiling roses from earlier periods can be brittle and worth protecting or removing carefully before work starts. Even the height of rooms varies, affecting ladder choices and how falling debris is managed. Gathering these observations into a short written note keeps decisions grounded, and it gives any professional you later consult a clear picture without guesswork. The ceiling has a history; reading it patiently is the first practical skill this project teaches.
Sampling and Laboratory Testing Before Any Surface Disturbance
Testing comes before scraping, sanding, or drilling, without exception where older material is concerned. The reason is simple: fibres of concern cannot be seen, smelled, or identified by texture, and only laboratory analysis of a physical sample settles the question. Choose an inconspicuous spot, perhaps inside a closet or behind a fitting, dampen the small area thoroughly to suppress dust, and collect the sample exactly as the laboratory or testing service instructs, sealing it immediately in the container provided. Wear suitable respiratory protection and gloves during collection, wash hands and tools afterwards, and keep other household members and pets out of the room until the small task is finished and surfaces are wiped clean.
Authoritative direction on this caution is easy to find, since federal asbestos guidance from the Environmental Protection Agency explains that asbestos was used across a range of building materials in older homes and that suspect material should be tested rather than disturbed on assumption. Send the sample to an accredited laboratory, note the date and the exact location it came from, and consider sampling more than one area if the ceiling was clearly applied or repaired in stages, because different sections can differ. While waiting for results, do nothing that breaks the surface. Planning, measuring, and gathering supplies for later stages is fine; any act that releases dust is not.
Results shape everything that follows. A clear result allows the careful household removal described in later sections, still with thorough containment because ordinary construction dust is itself unpleasant and pervasive. A positive result changes the project category entirely. The same federal guidance reserves removal of confirmed material for trained and accredited professionals, who work with specialised containment, protective equipment, and disposal routes that households cannot replicate. Treat that boundary as firm rather than as a challenge. Owners may still prepare by clearing rooms, gathering documentation about the home, and obtaining quotations, but the ceiling itself stays untouched until qualified help takes over.
Wet Removal Methods for Ceilings Confirmed Free of Hazards
Only ceilings with clear test results belong in this section, and even then the working method centres on water. Damp texture softens, releases from the board beneath with far less effort, and produces heavy wet debris that falls rather than drifting as dry dust through the house. Fill a garden style sprayer with warm water, work on a modest section at a time, and soak that section thoroughly rather than misting it. Allow time for moisture to penetrate, test an edge gently with a wide flexible blade, and soak again if resistance feels firm. Painted texture drinks slowly and may need repeated soaking over a longer period before it yields, so patience replaces force at every stage.
Context on the hazardous ingredient itself explains the caution woven through these methods, and background on asbestos minerals and historic uses on Wikipedia outlines why the material was once valued in building products and why disturbing it carelessly is now avoided. With a cleared ceiling, technique stays straightforward: hold the blade at a shallow angle, push in smooth strokes, and let softened texture slide away in sheets where it will. Keep a bag or lined container close so debris goes directly into it rather than piling up underfoot. Wipe the blade often, rewet edges that begin to dry, and move the ladder rather than overreaching, since ceiling work already strains neck and shoulders without added stretching.
Stubborn areas deserve diagnosis instead of harder scraping. A patch that refuses to soften may be a later repair in a different compound, a heavily painted zone, or texture bonded to a repair board. Extra soaking, gentle scoring of a painted skin so water can enter, and shorter strokes usually persuade such spots eventually. Gouging the board beneath creates finishing work that takes far longer than the scraping saved, so ease off whenever the blade begins to dig rather than glide. Work across the room in a planned direction, finishing each section fully before moving on, and pause regularly to bag debris, drink water, and rest raised arms, because tired technique is where surfaces suffer most.
Containment, Cleanup, and Waste Handling Done Properly
Containment begins before the sprayer is filled. Remove furniture entirely where possible; anything that must stay should be wrapped fully in sheeting sealed at the base. Cover floors wall to wall with overlapping sheeting secured around the perimeter, hang plastic across every doorway, and mask heating and cooling vents so dust cannot enter ductwork and redistribute itself for weeks. Turn ventilation systems off during work, keep windows managed according to weather and neighbourliness, and set out a simple route for carrying bagged debris outside that avoids dragging it through clean rooms. These preparations feel excessive for the first hour and entirely justified by the last.
Cleanup follows the same damp philosophy as removal. Fold floor sheeting inward so trapped debris stays enclosed, bag it without shaking, and wipe hard surfaces with damp cloths rather than dry sweeping, which simply launches fine particles back into the air. Vacuum only with equipment suited to fine dust and fitted with appropriate filtration, and wash reusable tools outside or over a lined bucket whose contents are bagged as well. Clothing worn for the job should be removed at the room threshold, bagged or washed separately, and hands, face, and hair washed before eating or settling elsewhere in the home. A room returned to use should smell neutral and feel grit free under bare feet.
Disposal is governed locally, and this point allows no improvisation. Councils, city services, and regional authorities set their own rules for bagging, labelling, collection points, and accepted categories of renovation waste, and those rules tighten considerably where any hazardous content is involved. Check the requirements for your area before work begins, buy the specified bags if special bags are required, and never place suspect material in ordinary household bins or shared containers. Keep test paperwork with household records so future owners and tradespeople inherit clear information about what the ceiling contained and how it was handled. Responsible disposal closes the project loop and protects people who never set foot in the room.
Repairing and Smoothing the Surface Left Behind
A freshly cleared ceiling is rarely flawless. Expect shallow gouges, faint ridges where stubborn texture clung, exposed joints, and small dents collected over decades. Let the surface dry completely before judging it, since damp board shows every mark more harshly and filler applied to a wet background adheres poorly. Under a low angled light, circle imperfections lightly in pencil, then fill and level them in stages, allowing each application to dry before sanding it smooth. Broad thin coats of joint compound, spread with a wide blade and feathered at the edges, even out shallow undulations far better than thick dabs that shrink and crack as they dry.
Sanding rewards the same restraint as scraping. Use a pole sander for reach, keep strokes even, and check progress by hand as much as by eye, because fingertips find ridges that lighting hides. Wipe away dust, then prime the whole ceiling with a primer suited to fresh compound, since unsealed filler drinks paint unevenly and leaves patchy shadows even under several coats. Finish with a flat ceiling paint, which forgives minor remaining undulations instead of highlighting them the way any sheen would. Apply paint in manageable stretches, maintain a wet edge, and inspect from the doorway at different times of day before deciding the work is done.
Step back and consider the room as a whole at the end. Freshly smoothed ceilings make walls look tired by contrast, light fittings show their age, and small cracks at coving lines become visible once the eye is no longer distracted by texture. Attend to those small neighbours now, while ladders and sheeting are still out, and the room gains a completeness that a ceiling alone cannot deliver. What began as a cautious project, paced by a laboratory result and shaped by water, containment, and patience, ends with a surface that lifts the whole space quietly, without drama and without debt to hurried decisions.


