
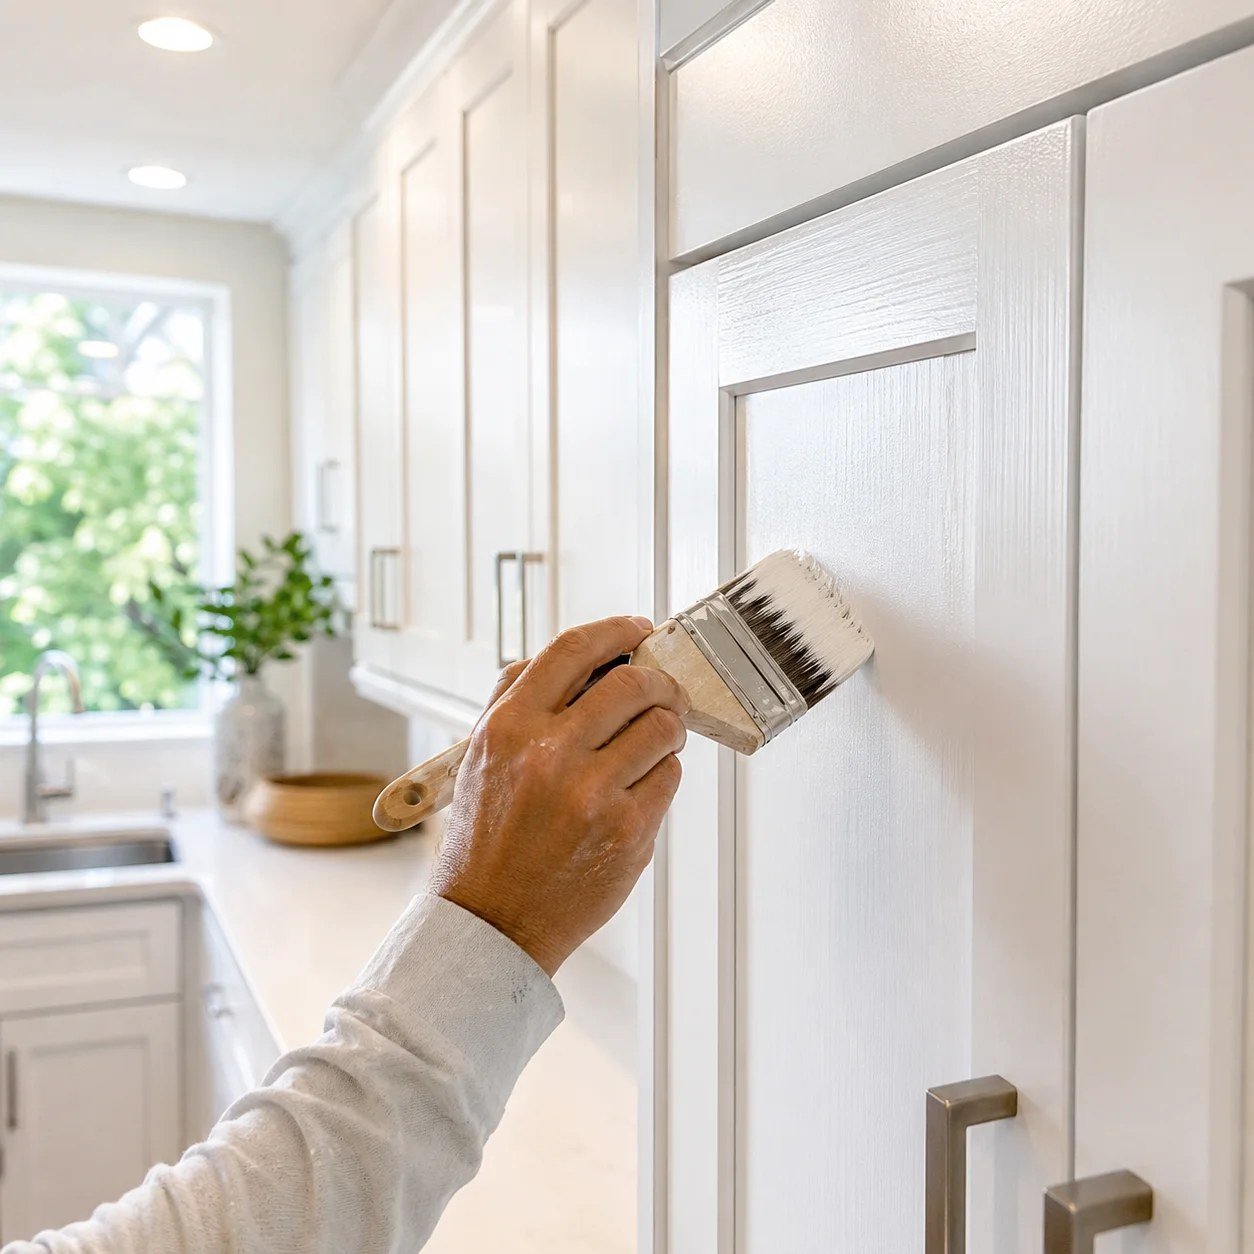
Cabinet paint fails on grease, gloss, and haste far more often than it fails on colour choice. Treating preparation as the main event turns tired doors into a finish that survives daily kitchen handling.
A kitchen asks more of a coating than any other room in the house. Doors near the range collect airborne cooking grease, drawer fronts take knocks from pans and cutlery trays, and every surface endures steam, splashes, and repeated wiping. Paint that performs beautifully on a bedroom wall can soften, print, and chip within a season here. The difference between a finish that lasts and one that peels rarely comes down to the final coat; it comes down to what the surface was, how it was cleaned, and whether the products chosen were built for cabinetry at all.
Assessing Cabinet Timber, Veneer, and Laminate Before Any Coating
Start by learning what the cabinets are actually made of, because the surface decides the whole method. Solid timber and plywood doors take sanding and primer predictably and forgive minor repairs. Veneer over a stable core behaves well too, provided edges are sound and no section has lifted or bubbled from steam damage. Laminate and foil wrapped doors are a different proposition: their slick, sealed faces give paint almost nothing to grip, and heat near an oven can already be loosening the wrap at corners, where failure will begin no matter how carefully the flat areas are coated.
This assessment is also where painting gets compared honestly against other routes. Anyone weighing the work against wider low cost kitchen updates will find that repainting sound cabinets changes the room more per hour of effort than almost any other single job, since the cabinets dominate the sightlines. The judgment to make now is narrow, though: are the doors flat or profiled, is the existing finish sound or flaking, and is any surface too glossy or too damaged for a coating to hold. Answers to those three questions shape the shopping list.
Construction quality matters alongside material. Readers weighing whether the existing boxes deserve the effort should think about how carcasses, doors, and joinery are typically built and where cheaper units cut corners. Wobbly frames, swollen particleboard near the sink, and hinges tearing out of crumbling board all argue for repair or replacement before paint enters the discussion. Sound boxes with tired faces are the ideal candidates, and they are common: the structure outlives the finish by decades.
Degreasing and Sanding Surfaces So Primer Can Grip Properly
Grease is the invisible enemy, and kitchens hold far more of it than they appear to. Years of frying leave a thin film over every door, thickest above and beside the hob but present even inside display cabinets. Paint applied over that film bonds to the grease instead of the door, and the grease eventually lets go. Wash every surface with a strong household degreaser or a trisodium phosphate substitute, working with a scouring pad, then rinse with clean water and allow everything to dry fully. A surface that still feels slick or shows water beading in patches needs another pass.
Sanding follows cleaning, never the other way round, since sanding a greasy door merely spreads contamination into the scratches. The goal is not stripping to bare timber but dulling the shine and giving the primer a fine, even texture to grip. A medium grit paper or sanding sponge suits most factory finishes, with finer grit between coats later. Profiled doors need flexible sponges that follow mouldings without flattening their edges. Wipe or vacuum away every trace of dust afterwards; dust left behind becomes grit sealed under primer, visible forever in raking light.
Repairs belong to this stage too. Fill dents and old handle holes with a two part wood filler if hardware positions are changing, sand repairs flush once hard, and re prime those patches so the topcoat absorbs evenly. Loose veneer should be glued and clamped flat before any coating begins. Skipping these small repairs because paint will cover them is a reliable disappointment: paint hides color differences, not contours, and low sunlight across a kitchen will outline every unfilled ding.
Cabinet Paint Chemistry and Why Wall Paint Cannot Substitute
Wall paint is formulated for surfaces that are looked at, not handled. Its film stays comparatively soft so walls can be rolled quickly and touched up invisibly, but that softness turns sticky on cabinet doors, where painted faces meet painted frames and refuse to separate cleanly. Purpose made cabinet enamels cure to a harder, tighter film that resists blocking, scrubbing, and the solvents in kitchen cleaners. Most modern versions are waterborne alkyd or acrylic formulations, which behave like water based paints during application yet level and harden in a way older latex paints never managed.
Understanding what is in the tin helps explain the behavior on the door. As an explanation of paint ingredients and drying processes sets out, a paint is pigment carried in a binder, and it is the binder that forms the final film and decides hardness, flexibility, and gloss. Cabinet products use binders chosen to crosslink into a dense skin as they cure, which is why the same can that brushes on smoothly can later shrug off a scouring pad. Solvent borne enamels still exist and level beautifully, but their fumes, cleanup, and drying demands push most home projects toward the waterborne versions.
Self leveling behavior deserves a plain explanation, since it is the property buyers are really paying for. A good cabinet enamel stays fluid just long enough for brush and roller marks to flow together and disappear, then sets before it can sag on vertical faces. Foam rollers and a light touch suit that chemistry well, and they stand in respectably for borrowed or rented spraying gear when the budget is tight.
Primers, Sheen Levels, and Hardness After Full Curing
Primer is the translator between an old finish and a new one. On bare timber it seals uneven absorption; on glossy factory finishes a bonding primer is what chemically grips the slick surface so the topcoat has something trustworthy to hold. Stain blocking primers earn their place over timber that has bled tannin through previous coatings, and over repaired or smoke damaged kitchens. One honest coat, sanded lightly once dry, gives a uniform matte base that makes thin topcoats cover evenly instead of flashing over shiny patches.
Sheen is a practical decision wearing a decorative disguise. Flat finishes hide surface flaws kindly but hold grime in their texture and resist scrubbing, which makes them a poor match for the room where splashes happen daily. Satin and semi gloss surfaces release dirt far more readily during cleaning and read as properly finished cabinetry under kitchen lighting. Higher gloss also exposes every remaining dent and sanding scratch, so the choice should follow the condition found during assessment rather than fashion.
Curing is the stage impatience ruins. A cabinet enamel may feel dry within hours and be handleable the following day, yet the film keeps hardening for weeks, gaining its real resistance to prints, sticking, and chipping only at the end of that period. Doors closed hard against fresh frames, cutlery trays slammed into drawers, and heavy pans hung on hooks during the first fortnight all leave permanent marks in a film that would have shrugged them off a month later. Treating the kitchen gently while the coating finishes curing is free durability.
Application Technique for Doors, Drawers, and Fixed Frames
Remove doors and drawer fronts and work on them flat, supported on small blocks or painting pyramids in a dust free space. Painting flat eliminates runs on all but the edges, lets each face be coated in a calm sequence, and turns a cramped kitchen job into a bench job. Label every piece and its hardware as it comes off, in pencil on the hinge side or on tape inside the cabinet, because doors that look identical rarely are, and a swapped pair will announce itself in uneven gaps at reassembly.
Work in thin coats and keep a wet edge. Run a dense foam roller over the flat areas and tip off lightly with a good angled brush, or brush profiles first and roll the flats immediately after while both meet wet. Two or three thin coats with a light sand and dust wipe between them build a smoother film than one heavy coat ever will, and each thin layer dries honestly instead of skinning over trapped softness. Frames fixed in place get the same treatment with the body masked and surrounding surfaces sheeted, working from the top down so drips land on uncoated sections.
Conditions in the room steer the result more than hand skill does. Very cold air slows curing and dulls leveling, hot dry air skins the surface before marks can flow out, and dust raised by nearby sanding settles into wet faces within minutes.
Hardware, Hinges, and Reassembly Details That Complete the Look
Hardware decides whether a repaint reads as a refresh or a renovation. Sound existing handles can be cleaned, and their finish often suits the new color better than expected, which keeps money in hand for paint quality. Where handles are being changed, measure the screw spacing on the old ones before ordering, since replacements that match the existing holes save the filling and drilling stage entirely. New hinges in a matching finish complete the effect quietly; reusing rusty or paint clogged hinges under fresh doors looks like exactly what it is.
Reassembly rewards the labeling done at removal. The adjustments make more sense with background on kitchen cabinet construction and materials in mind, since hinge arrangements and carcass joinery vary between makers and eras, and forcing a fitting designed for one system rarely ends well. Hang doors in their original openings, adjust hinge screws gradually to even the gaps, and fit soft pads inside doors and drawers so fresh faces close against a cushion rather than a painted frame edge. Check that every door clears its neighbors through the full swing before tightening anything fully, and keep a small pot of the topcoat aside, labeled, for the touch ups that kitchen life will eventually require.
The final inspection should happen in the hardest light available, ideally morning sun across the faces, with doors opened and closed slowly. Look for missed edges on door bottoms, thin coverage inside profile grooves, and any spot where a painted face meets a painted frame and wants to stick. A kitchen that passes that slow inspection, after a cure period treated with patience, will take daily handling, steam, and scrubbing in stride, and the color that started the whole project can finally be enjoyed for its own sake.


