
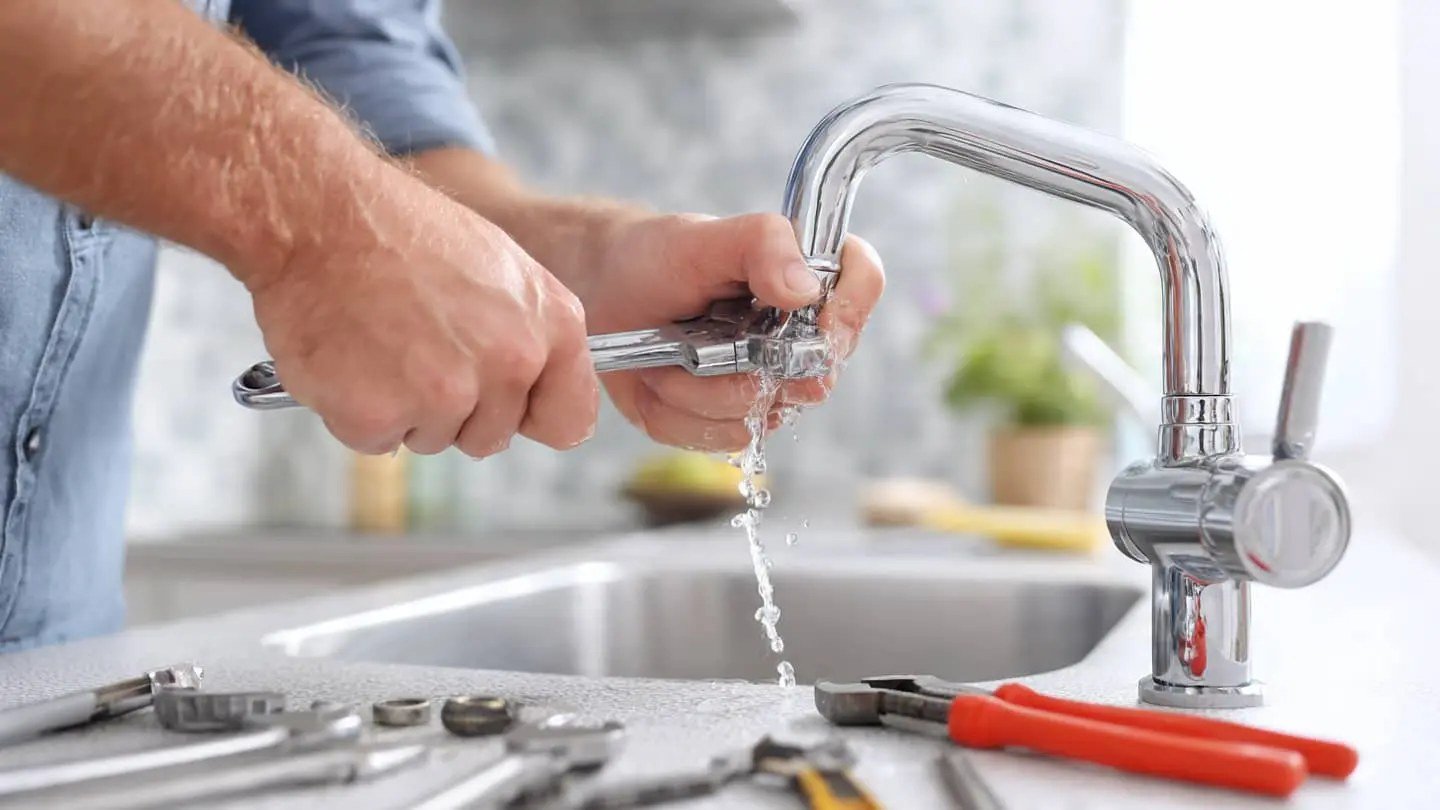
A steady drip from a spout almost always traces back to one tired washer, cartridge, or ring hiding inside the handle assembly. Replacing that single worn part is well within reach of a careful first timer. Many householders hesitate because plumbing feels hidden and unforgiving, yet a faucet is one of the few fittings in a home that comes apart in a logical order and goes back together the same way. Anyone weighing the choice between tackling the job personally and booking professional help can read practical reassurance in repairing a dripping faucet without a plumber and then decide with a clearer head. Patience matters more than strength here. Rushing twists stems, tears fresh seals, and turns a simple washer swap into a scratched valve seat. Working slowly, keeping every removed piece in order, and testing before the handles go back on will carry a beginner through nearly every ordinary drip.
Everything Laid Out Before Any Faucet Part Comes Apart
Clear the cabinet below the basin and set a towel across the shelf so drips land on cloth rather than pooled board. Lay a second towel beside the sink as a work mat, and place a shallow tray or an old baking sheet on it for screws, springs, and seals as they come off. Keeping parts in the order of removal removes most of the guesswork during reassembly, and a phone photograph taken at each stage gives a reliable record if memory falters. Plug the basin waste opening with a cloth or a stopper before touching a screwdriver, because small screws dropped into an open drain are gone for good.
Gather an adjustable wrench with smooth jaws, a flat blade screwdriver, a cross head screwdriver, and a set of small hex keys, since handle screws vary between makers. Add a tube of silicone based plumber grease, a roll of thread sealing tape for threaded joints that call for it, white vinegar in a small bowl, an old soft toothbrush, and a torch or a head lamp for the dark space beneath the basin. For parts, buy seals matched to the maker and model wherever possible, because a washer that looks close still may sit slightly proud or slightly loose and drip again within weeks. Photograph the maker’s mark on the faucet body and bring the old washer or cartridge along when shopping, and keep the receipt until the repair has held through several days of normal use.
Identifying Compression, Cartridge, Ball, and Disc Faucet Designs
Two separate handles that rotate through many turns before water stops point toward a compression design, the oldest pattern still in wide use. Inside each handle a stem rises and falls, pressing a rubber washer against a metal seat at the bottom of its travel. When that washer hardens, grooves, or splits, water creeps past even with the handle closed firmly, and the spout drips in a slow rhythm. Compression units forgive rough handling and accept inexpensive washers, though they need those washers renewed more often than modern designs need attention.
A single lever usually hides one of three other arrangements. A cartridge unit moves a hollow cylinder up and down or side to side, and rings around that cylinder do the sealing, so wear shows as dripping plus stiffness or a handle that wanders from its set position. A ball design rests a slotted metal or plastic ball over springs and small rubber seats, and leaks often start at those seats or at the cam above the ball. A disc design stacks two smooth ceramic discs whose polished faces slide across each other, and drips there tend to come from grit trapped between the faces or from inlet seals beneath the disc stack rather than from the discs themselves, which rarely wear out. Naming the design before opening anything tells you which seals to expect, which parts to buy, and how much force the assembly should need.
Shutting Off Supply Water and Relieving Line Pressure Safely
Reach beneath the basin and turn both isolation valves clockwise until they stop, using gentle pressure because valves left untouched for years can feel stiff. If a valve refuses to move, do not force it with a long lever, since snapping an old valve stem creates a far worse leak than the drip you started with. Where no valves sit beneath the basin, close the main supply for the property instead and warn everyone in the home before doing so. Open the faucet fully after closing the valves and leave it open while the last water drains away, then open the second handle as well so both lines empty.
Confirm the supply is truly off by watching the flow slow to a stop and stay stopped for a full minute. Keep a bucket ready for the small volume trapped in the faucet body and the short pipe runs, and expect a brief spill when the first fitting loosens. Working with pressure still trapped inside a line can push a stem or cartridge out suddenly and soak the cabinet, so treat the draining step as part of the repair rather than a delay before it. Close the basin plug again once draining finishes, and dry the area so any new moisture appearing later stands out clearly during testing.
Numbered Repair Steps for Replacing Worn Seals and Cartridges
Step one is removing the handle. Pry off any decorative cap with a flat blade wrapped in tape to protect the finish, undo the screw beneath, and lift the handle straight up with a gentle rocking motion. Step two is exposing the stem or cartridge. Unscrew the packing nut or retaining clip that holds the assembly in the body, noting whether a clip slides sideways or a ring unscrews, and keep that fastener safe in the tray. Step three is drawing the stem or cartridge out slowly, gripping the top with fingers or smooth jawed pliers padded with cloth, and turning slightly if mineral scale resists.
Step four is reading the worn parts. Look for a washer flattened into a disc with a deep circular groove, rings that feel flat sided rather than round, and springs that sit unevenly. Step five is fitting replacements in exactly the same positions, with a thin smear of silicone grease on every rubber part so each seal slides home without twisting or pinching. A dry ring dragged across a rough bore can roll out of its groove and leak from the first test, while a greased ring settles evenly. Step six is seating the stem or cartridge fully and refitting the nut or clip to finger tightness plus a small extra turn, stopping well short of the force that would crack a plastic cartridge housing.
Step seven applies to compression stems in particular. Undo the little brass screw that secures the washer at the stem base, fit the new washer flat into its cup, and drive the screw home snugly without crushing the rubber. If the metal seat inside the body feels rough when a fingertip runs across it, a seat dressing tool can smooth light damage, while deep pitting calls for a replacement seat where the design allows one to unscrew. The Environmental Protection Agency advice on fixing household leaks explains how worn washers sit among the most common sources of water wasted indoors, which is worth remembering when a drip seems too small to bother with. A slow drip left for months also stains porcelain, swells cabinet board, and feeds mold in the dark space below a sink, so the reward for finishing reaches beyond the water itself.
Cleaning Mineral Scale From Seats, Stems, and Aerators
Hard water leaves chalky scale wherever water dries, and that scale grinds against soft seals every time a handle turns. Soak removable stems, seats, and small parts in white vinegar until the deposits soften, then lift the residue away with the soft toothbrush rather than a wire brush or a knife blade, either of which can score metal and create fresh leak paths. Rinse every part under clean water and inspect under a bright light, turning each piece slowly so cracks and pits show up. The sealing idea behind the humble ring is simple and elegant, and the Wikipedia background on ring seals and their uses describes how a soft torus squeezed in a groove blocks fluid in both plumbing and machinery. Understanding that squeeze explains why cleanliness matters so much, because a single grain of grit held under a ring defeats the seal completely.
Unscrew the aerator from the spout tip by hand or with cloth padded pliers, and note the order of its mesh screens and washers before tipping them out. Soak those pieces in vinegar as well, rinse away loosened flakes, and refit the aerator only after the repair test, since debris freed during the work often travels to the spout and would clog a freshly cleaned screen. While parts soak, wipe the inside of the faucet body with a cloth wrapped around a finger, feeling for grit or sharp edges that fingers detect better than eyes in that narrow space.
Restoring Water Flow and Watching for Remaining Moisture
Refit the handles loosely at first, then open the isolation valves slowly while watching the base of each stem and the spout tip. A slow return of pressure lets air escape through the open faucet without hammering, and the first flow will sputter before settling into a steady stream. Run hot and cold separately, closing and opening each handle several times, and dry every joint with a fresh tissue so even a faint weep shows as a damp patch. Leave the tissue beneath the repaired area and look again after household use resumes, because some seals only weep under full standing pressure when the faucet sits closed for hours.
If a drip remains, note its rhythm and location before opening anything again. Water appearing at the spout after a cartridge swap usually means the cartridge has not seated fully or a ring rolled during fitting, while moisture around the handle points toward packing or an upper seal rather than the main washer. Work back through the relevant stage only, rather than stripping the whole assembly, and resist overtightening as a cure, since crushed rubber seals worse than rubber left at its proper shape. When the spout stays dry through repeated cycles and an overnight rest, refit caps and handles firmly, clear the cabinet, and note the date and the parts used on a card kept beneath the sink. That small record turns the next drip, whenever it comes, into a shorter job with the right seals already named.


One comment