
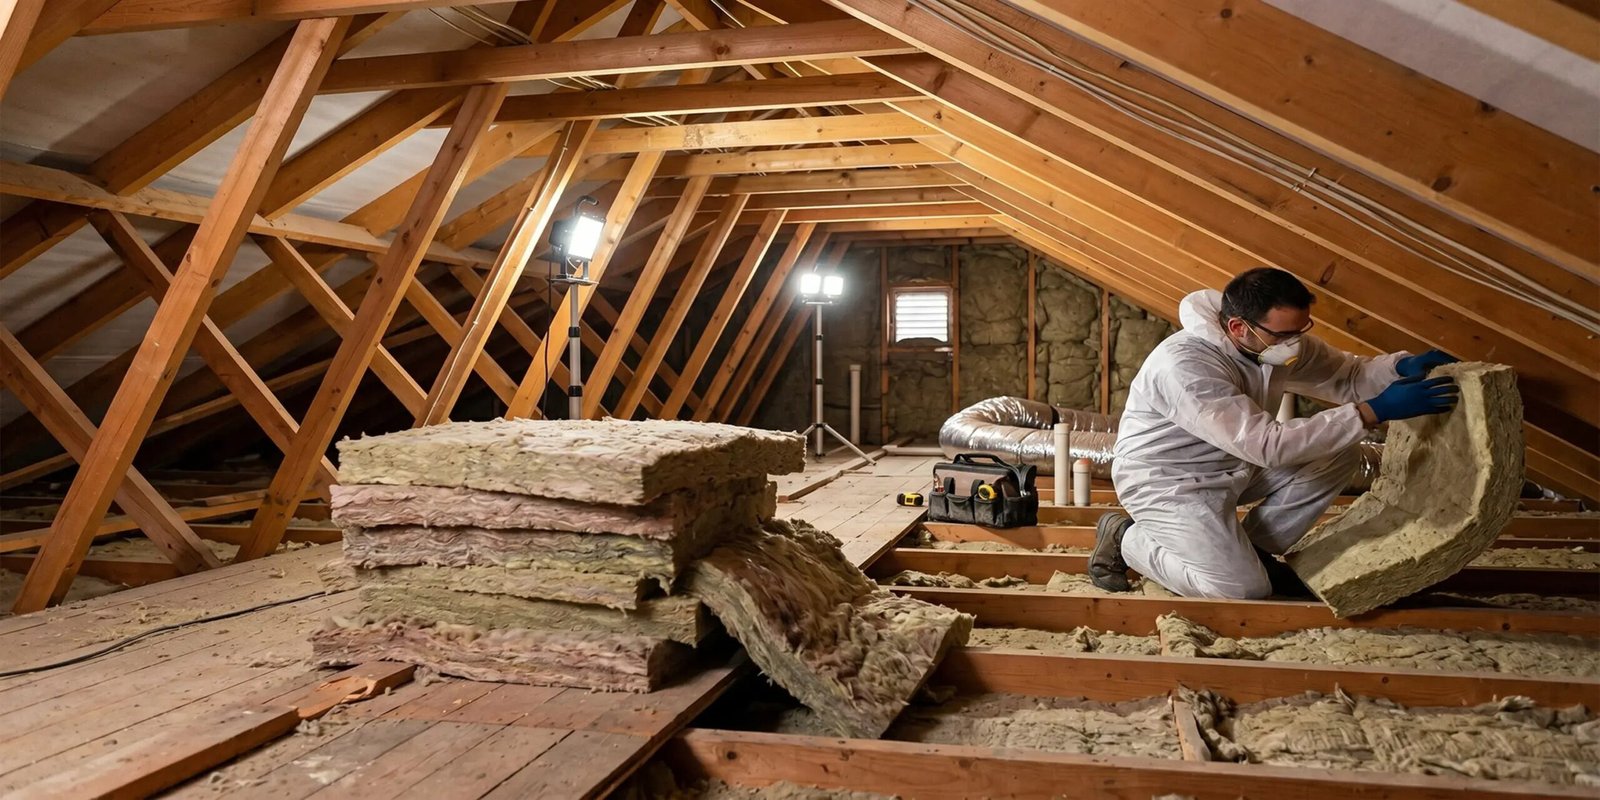
Warm air escapes upward all winter through a thinly covered attic floor, quietly inflating every heating season. Working through the upgrade phase by phase shows where the money goes and what each stage buys.
An attic upgrade rewards order. Material dumped over a leaky, damp, or poorly ventilated floor underperforms for decades, while the same material laid over sealed gaps at the correct depth quietly cuts heating demand every single day. The work divides naturally into five phases, and each phase has its own cost picture depending on whether the homeowner climbs the ladder personally or pays a crew. None of the phases demands exotic skill, but skipping one undermines the rest.
Phase One Inspecting Existing Depth, Moisture, and Air Bypass Routes
Begin with a torch, a tape measure, and old clothes. Measure the existing insulation depth in several places, including the far corners where installers often skimped, and note what material is already there and whether it sits evenly or in matted, patchy layers. Older homes frequently carry far less depth than current recommendations ask for, and topping up an even existing layer costs far less than insulating a floor that begins completely bare, so this measurement shapes the whole budget. Anyone already working through preparing a house for the first freeze will recognise the attic as the largest single item on that seasonal list, and the inspection belongs at the top of it.
Moisture comes next, because insulation laid over a damp problem locks the problem in. Look for dark staining on the roof timbers, rusty nail tips, mould on the underside of the decking, and any soft or discoloured patches in the existing material below bathroom fans or plumbing runs. A leaking roof or an unvented fan exhausting into the attic must be repaired before new material arrives, not after. Note also where air bypasses hide: open wall cavities dropping into the space, chases around plumbing stacks, and gaps beside chimney flues all act as chimneys for warm air.
The inspection costs nothing but time when handled personally, apart from a torch, a dust mask, and perhaps a moisture meter. Paying a professional assessor or an insulation contractor to survey and quote usually folds into the price of the eventual job, though a standalone energy audit carries its own fee, commonly a few hundred in plain terms. Either way, the findings from this phase decide whether the later phases stay simple or grow.
Phase Two Sealing Gaps Around Pipes, Wires, and Hatch Openings
Insulation slows heat travelling through it, but moving air ignores it entirely. Warm air rising from the living space finds every penetration in the attic floor, around pipes, electrical cables, recessed light fittings, and the hatch itself, and carries heat straight into the cold space above. Sealing those routes with expanding foam for larger gaps, caulk for fine cracks, and rigid covers over heat producing fittings is unglamorous work that routinely matters more than an extra layer of material added on top of leaks.
The hatch or pull down stair opening deserves special attention, since it is effectively a large, thin door in the middle of the insulated floor. Weatherstripping its edges and fitting an insulated cover or tent above it closes one of the biggest single bypasses in most houses. Fire safety rules the work near flues and recessed lights: keep insulation and foam at the required clearance from hot flue pipes, use only fittings rated covers over lights, and never bury a junction box where an electrician would need to find it. Metal flashing and high temperature sealant suit the flue gaps where ordinary foam would be unsafe.
Handled personally, sealing costs little more than several cans of foam, tubes of caulk, and a weekend of careful crawling, typically well under one hundred in materials. A professional crew charges for the labour instead, and air sealing bundled into an insulation contract commonly adds a few hundred to the bill, money that experienced contractors argue is the best spent part of the whole project because it raises the performance of every inch of material laid afterwards.
Phase Three Choosing Between Loose Fill, Batts, and Foam Materials
Loose fill cellulose, made largely from treated recycled paper, blows into irregular spaces and settles around pipes, wires, and joist tops without leaving the voids that plague cut materials. It delivers strong resistance to heat flow per inch of depth and suits attics full of obstacles. Blown fiberglass behaves similarly with a lighter weight per inch, while fiberglass or mineral wool batts cost less per bag and lay quickly in open, regular joist bays, yet lose performance badly when compressed, torn, or cut loosely around obstructions.
Foam products sit at the premium end. Spray foam seals and insulates in one operation and suits awkward shapes, but its material and labour costs run far above loose fill, and it demands professional application with the house vacated during curing in most cases. Rigid foam boards appear mainly around hatches, kneewalls, and access platforms rather than across whole floors. A broad overview of building insulation materials and their properties lays out how these families differ in composition and behaviour, which helps when manufacturers describe near identical products in very different language.
Cost at this phase is a material choice more than a labour one. Loose fill bought by the bag for a personally handled job keeps the material bill modest, and many home centers lend the blowing machine free alongside a bulk purchase, which removes the largest equipment cost entirely. Batts undercut loose fill slightly on material while demanding far more cutting labour from the installer. Foam reverses the picture: the material itself and the specialist crew together can carry the phase to several times the loose fill figure before depth is even discussed.
Phase Four Installing to the Target Depth Across the Whole Floor
Installation day is methodical rather than difficult. Federal recommendations for attics in most climate zones call for substantially deeper coverage than older homes carry, expressed as a resistance rating that climbs with the severity of the climate. Guidance collected in an explanation of insulation resistance values shows how that rating relates to material and thickness, and why a colder region asks for a deeper floor blanket than a mild one. Depth rulers stapled to joists at intervals keep the work honest, since blown material looks deeper than it is and settles slightly after installation.
Coverage must stay even from eave to eave. Wind washing at the edges, where outside air enters under the roof, thins material near the walls precisely where rooms below lose heat, so baffles that hold the ventilation channel open also help keep insulation in place there. Around the hatch, build a retaining dam so material stays off the opening and the insulated cover can still close. Walk boards or planks laid across joists protect both the worker and the ceiling below, since a foot through plaster turns a cheap upgrade into a repair bill.
For cost, this is the phase where the personal and professional routes divide widest. A typical attic fitted professionally, all phases combined, commonly totals between one thousand five hundred and three thousand five hundred, while handling loose fill personally often lands between five hundred and one thousand for the same space, with the blowing machine borrowed rather than bought. The professional figure buys speed, disposal of old material where needed, and a crew that finishes in a day; the personal route buys the same depth for sweat, a dusty weekend, and care around every joist.
Phase Five Checking Ventilation Clearances and Final Coverage Depth
Fresh insulation must not smother the attic itself. Intake vents at the eaves and exhaust vents near the ridge move moisture laden air out of the space, and material pushed into the eave line blocks the intake half of that system. Walk the perimeter after installation and confirm every baffle channel stands open, with material held back from the vent openings. A roof that cannot breathe collects condensation on cold timbers through winter, quietly undoing the moisture precautions taken during inspection.
Final depth checks close the project. Measure again in several places, including above the rooms that always felt coldest, and compare the readings against the target settled depth rather than the fluffy depth recorded on installation day. Loose fill settles, batts spring unevenly, and a shortfall in one corner is far easier to correct while equipment and material remain on site. Photograph the rulers, keep the product receipts and coverage figures with the house papers, and note the date, since a future buyer or energy auditor will ask what lies up there and when it was laid.
Costs in this phase are minor either way. Personally, the checks cost an hour and perhaps a spare bag of material to correct a thin patch. Professionally, a reputable installer includes the walkthrough in the quoted price, and payment should wait until the depth readings have been seen rather than assumed. Either route ends the same way: a floor sealed against moving air, covered evenly to a measured depth, with ventilation intact above it.
What Each Phase Costs When Handled Personally Versus Professionally
Drawn together, the pattern is consistent. Inspection and final checking cost almost nothing in either route beyond time or an audit fee. Sealing is cheap in materials and expensive only in patience, which is why professional quotes for it surprise homeowners until they consider the hours spent crawling joist to joist. Material choice swings the middle of the budget, with batts and loose fill close together, professionally blown material in the middle ground, and foam standing apart at the top.
The honest comparison also counts what money buys beyond material. A professional crew brings disposal, speed, warranty paperwork, and experience around flues and fittings, and finishes before weather turns. The personal route keeps the largest share of the budget unspent and suits any homeowner comfortable in a mask on walk boards for a weekend. Both routes, done in the right order with gaps sealed first and depth verified last, deliver the same essential result: a house that holds its warmth through the coldest weeks instead of donating it, quietly and continuously, to the winter sky.
Where the budget forces a choice between phases, sealing and depth deserve protection and foam deserves the cut. A modest material laid thickly over a sealed floor outperforms a premium material laid thinly over leaks every winter that follows, and depth can always be topped up in a later season once the sealed base is in place.


2 comments