
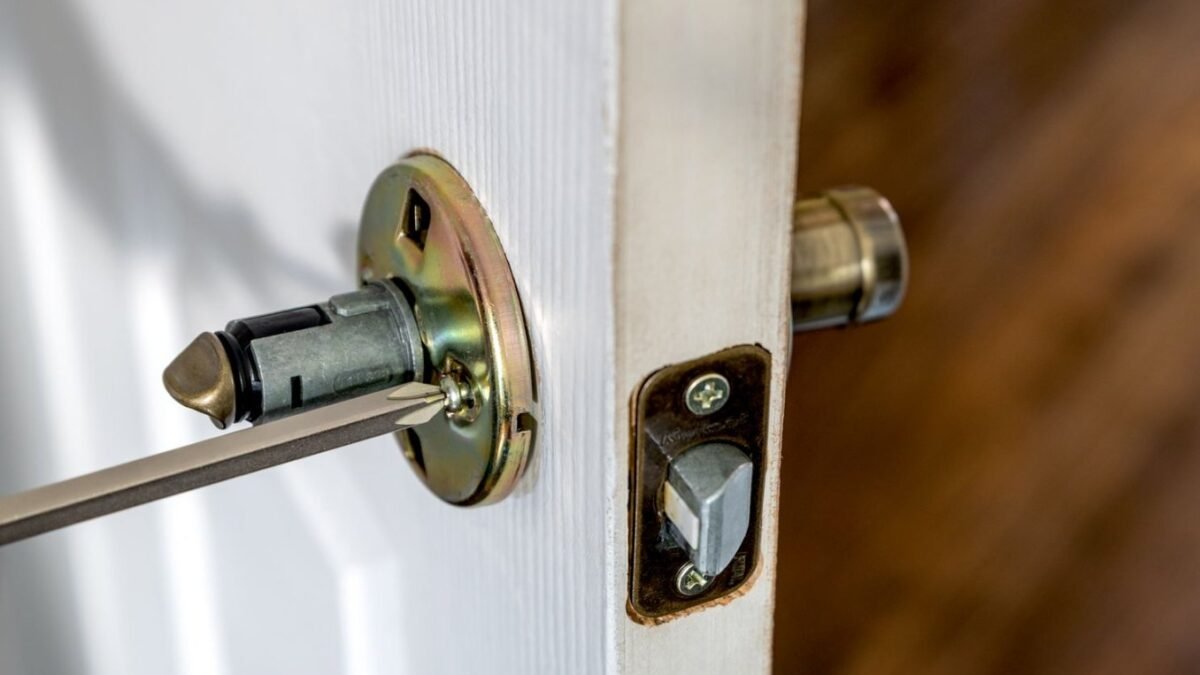
A new lock set sits in its box on the hall table, and the old knob wobbles every time anyone grabs it. Plenty of first timers stall here because the door feels too important to experiment on. Yet the hardware was designed to be swapped by the person who lives with it, using tools already in most kitchen drawers. The real skill is not force or speed. It is measuring honestly before buying, then testing the finished lock before trusting it with the house.
What Should You Check on the Door Before Spending Anything
Measure the backset before anything leaves its packaging. Backset means how far the centre of the round bore hole, where the knob sits, lies from the door’s edge. Most homes use the shorter common size, while some older doors use a longer one, and many modern latches adjust to cover both. A tape held from the door edge to the hole centre settles the question in seconds.
Measure the door thickness as well, at the edge where the latch sits rather than across the decorative panels. Interior doors are thinner than exterior doors, and most kits cover the standard range found in ordinary houses. A door far outside that range needs longer screws or a different kit, which is far better learned in the shop aisle than with the old knob already removed.
Check the bore size and the smaller edge hole for the latch, then note whether the existing latch faceplate is rectangular, rounded, or a simple drive in collar with no plate at all. New hardware that matches the existing preparation drops in calmly. Hardware that differs means chisel work on the door edge, a job that rewards patience and a sharp blade rather than enthusiasm.
Think about keying while you are still measuring. Some brands let a new lock be set to work with an existing house key, which saves carrying an extra key for one door. That option depends on the brand and key shape matching what you already own. Ask before buying if one key for the whole house matters to you, because not every set can be matched afterwards.
How the Old Knob and Bolt Come Apart Without a Fight
Most knobs hide their screws in one of a few familiar ways. Some show two screws plainly on the inner rose. Others hide them under a decorative cover that twists or pops off, and many lever handles use a small release slot or pinhole that frees the handle when pressed with a thin tool while you pull gently. Look slowly before prying anything.
Set every removed part aside in a dish or a tray, arranged in the order it was removed, and keep it there until the new lock has been fitted and tested. That habit feels fussy for about a minute and saves the whole job if the replacement turns out wrong, damaged, or missing a part. The old hardware is your way back to a working door.
Paint is the usual reason old plates refuse to move. Years of decoration seal latch plates and strike plates to the wood like glue. Score around the plate edges with a craft knife before levering, cutting the paint film cleanly so the plate lifts without tearing chunks of finish away with it. A thin scraper worked gently under one corner then does the rest.
Remove the latch and bolt units from the door edge once the knobs are off, keeping their screws with them in the dish. Note which way the old latch bevel faced and how the old deadbolt sat, using a phone photograph if your memory feels crowded. Those small observations answer half the questions that arise during fitting, without any guessing at the crucial moment.
Why the Latches Go In Before Anything Else
The latch goes in first because everything else aligns to it. The knob spindle passes through the latch, the bolt mechanism engages with it, and the door edge work is easiest while the bore stands empty. Slide the latch into its edge hole and check that its faceplate sits flush with the door edge, neither proud enough to catch nor sunk enough to rock.
Mind the bevel direction as you seat it. The sloped face of the latch bolt must meet the strike as the door closes, so the bolt rides inward smoothly and then springs into its pocket. Fitted backwards, the flat face strikes the plate head on and the door refuses to latch without a slam. A moment spent picturing the closing swing prevents that error.
Anyone pricing up this swap before starting can compare the hands on work here with what the same job costs when a tradesperson does it, by reading about the cost to replace a door handle in the United States and weighing time against a modest call out charge. That comparison helps decide whether your own careful afternoon is the sensible route for this particular door.
Sizing questions that surfaced while measuring find their clearest answers in maker material. Kwikset support explaining how backset is measured and matched sets out how backset is measured and matched to the latch, which is why the adjustable latch in many kits covers both common sizes. Reread that sizing help if the latch sits oddly, since a latch set to the wrong backset throws the whole alignment off.
For a deadbolt, fit the bolt unit with its orientation marks facing the way the maker directs, often with a word or arrow kept upright. A bolt installed upside down may move yet refuse to throw fully into the frame. Extend and retract it several times by hand before the knobs or thumb turn go on, feeling for the smooth full travel the finished lock will need.
What a Proper Test Looks Like Before You Trust the Lock
Test everything while the door stands open, where a mistake cannot lock you out or trap anyone inside. Turn the knob, work the latch, throw the deadbolt, and watch each part travel its full distance without stiffness or scraping. The bolt should extend completely and sit without wobble, and the latch should spring back smartly every single time you release it.
Only after the open door test passes should you swing the door shut and test again in the frame. The latch should click home with a gentle push, not a shoulder. The deadbolt should slide into its strike without your lifting, pressing, or leaning on the door to persuade it. Any persuasion needed now becomes a nightly annoyance later, so treat it as information rather than success.
Step outside and test with the key. The key should enter smoothly, turn without gritty resistance, and withdraw cleanly at the right position. Try the spare key as well, and let another household member try, because hands notice different things. A lock that only behaves for its installer has not really passed, however neat it looks on the door.
Look at the strike plates with the door closed and a torch in hand. Fresh scrape marks on one edge tell you exactly where the bolt kisses the plate instead of entering its pocket. Small adjustments to the strike position, or clearing a shallow pocket a little deeper, cure most complaints. Longer screws through the strike into the frame timber behind add real strength here.
When a Simple Swap Stops Being a Beginner Job
Some doors carry an antique mortise lock, a large boxed mechanism set deep into the door rather than a simple cylindrical set through a round bore. Replacing like with like can still be manageable, but converting such a door to modern hardware means filling and redrilling substantial woodwork. That is a different scale of job, and recognising it early protects a handsome old door from harm.
Swollen, warped, or badly misaligned doors also move the job beyond a swap. If the frame is out of square, the hinges are torn loose, or the door binds hard in wet weather, new hardware inherits every one of those problems. A carpenter or locksmith can correct the underlying fit first, after which the lock work becomes simple again for whoever does it.
For background on what the bolt itself must do inside the frame, the encyclopedia entry on deadbolts and how the bolt locks into the frame explains how a deadbolt bolt locks into the frame and why that deep engagement gives the type its strength. That framing helps judge when a strike pocket is too shallow or a frame too weak for hardware alone to fix.
Security worries can also justify professional help. A door that has been forced before, a frame with cracked timber around the strike, or a household that needs certified hardware for insurance reasons all deserve a locksmith visit rather than a hopeful swap. The cost sits in a broad mid range for ordinary call outs, and the result is a door you can defend and describe honestly.
Stopping is not failure. The wisest moment in many home jobs is the pause where the person holding the screwdriver admits the door needs more than new knobs. Keep the old hardware safe, keep the door closing as well as it did yesterday, and bring in help for the part beyond a swap. The new set will wait in its box without complaint.
Can a New Lock Work With a Key You Already Own
Sometimes, where the new lock shares a brand and key shape with your existing locks, a locksmith or the retailer can set it to match. Some modern sets also offer a simple rekeying feature you work yourself with the old key in place. Ask at purchase, because the option varies widely and cannot be assumed.
What If the Door Needs a Lift Before It Will Latch
That habit points to hinge wear or a shifted frame rather than a faulty latch. Tightening hinge screws, or fitting a longer screw that bites into the frame timber, often lifts the door enough. If lifting remains necessary after that, the fit itself needs attention before any lock can behave properly through the seasons.
How Long Should an Ordinary Swap Take
A straightforward swap on a well behaved door usually fits inside a relaxed afternoon, with measuring and testing taking as much of it as the fitting itself. Rushing serves nothing here. A slow test at the end matters more than a fast start, because the lock earns its keep every night that follows.


