
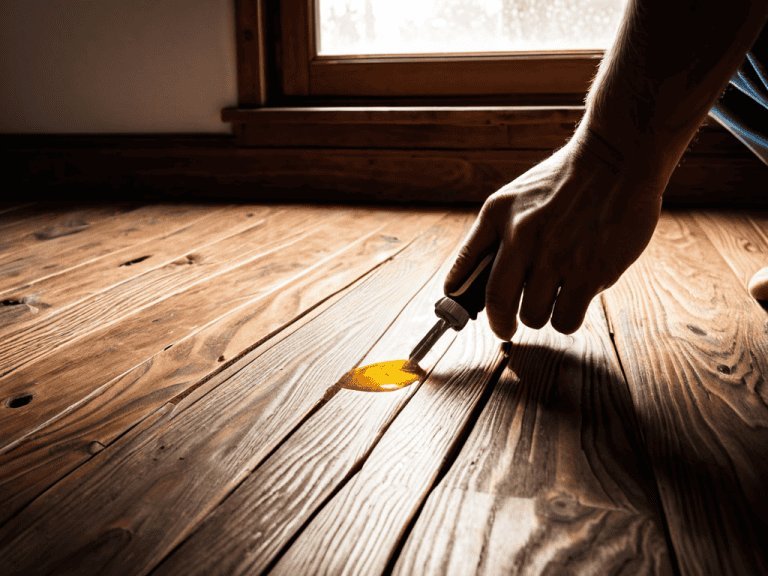
There is a particular board in many homes that betrays anyone heading for a midnight glass of water. The noise feels dramatic, yet the floor beneath it is usually sound and solid. A squeak is simply two wooden surfaces shifting against each other by a hair as weight passes over. Stop that tiny movement, or help the surfaces glide silently, and the drama ends. Nearly every lasting remedy works from the room you are standing in, with the floor left exactly where it is.
Keep a short working list beside you before touching anything. Mark the exact spot that sings, find the beam running beneath it, try a dry lubricant where hard boards rub edge to edge, fasten any section that lifts or flexes, and step on the spot again after every single step. Working in that order matters, because each stage can end the noise on its own and each result tells you whether the next stage is needed at all. Floors reward patience and punish guessing, especially guessing with a drill.
Some flaws raise an honest question about whether a proper repair is worth the effort at all, and it helps to think that through before spending anything. Homeowners weighing is it worth repairing cracked concrete face the same balance between flaw, cost, and daily irritation, and a squeaky board deserves the same clear headed pause. A board crossed twenty times a day earns a real fix. A board in a spare room corner may earn nothing more than a note to step around it.
A Working List for Hunting and Quieting the Noise
Begin with mapping, because memory lies about sound. Walk the room slowly in socks, shifting weight from heel to toe, and mark every spot that answers with tape or a coin left on the board. Note whether the sound is a sharp creak, a dull knock, or a soft rubbing sigh, since each hints at a different contact point. Test the same spots at a different hour too, because boards that sing on a cold morning may stay silent by afternoon as the wood warms and swells slightly in its place.
Gather modest tools rather than impressive ones. You want a stud finder or a strong small magnet, tape, a torch, your chosen dry lubricant, and, only if fastening proves necessary, a purpose made snap off screw kit matched to your floor type. Keep ordinary wood screws out of this job for now. A magnet dragged slowly across a covered floor finds the hidden nail heads along a beam line surprisingly well, and a stud finder earns its keep on bare boards where fixings hide under finish and polish.
Work the list in order and test after each stage. Lubrication first, because it is clean, cheap, and reversible. Fastening second, because it changes the floor and deserves a confirmed loose section before anyone drives anything into it. Stepping firmly on the treated spot after each attempt is not ceremony. It is the only honest measurement you have, and it stops the classic failure of applying three remedies at once, silencing the board, and never learning which one worked or which one to repeat when a neighbour board starts singing next winter.
Pinpointing the Exact Board and the Beam Beneath It
Narrow the hunt to a single board or seam. Stand with one foot either side of the marked spot and rock gently, watching the edges for movement you can see as well as hear. A board that dips at one end is moving against a fixing or a beam. Two boards that shift together along their shared edge are rubbing flank to flank. An observer kneeling at floor level often sees the movement better than the person standing, so borrow a second pair of eyes if the house offers them.
The beam beneath matters because fasteners only hold when they bite into solid timber. Beams under a floor run in one direction at regular spacing, which means the line of an existing beam can be traced once a single point on it is found. Look for the existing nail or screw pattern along the boards, since builders fixed the floor down into those beams in rows. Follow that row with your magnet or finder across the marked spot and pencil the line lightly, because your fastening, if it comes, belongs exactly on that line and nowhere else.
On carpet, work through the pile with your fingertips and the magnet rather than lifting anything. The beam line still announces itself through the rows of hidden fixings, and marking it with pins or tape on the surface keeps the information visible while you work. On bare hardwood, kneel and use low light raking across the surface, since filler over old fixings catches that light and shows as faint circles. Either way, the goal is the same modest certainty about where solid timber waits below before any remedy involving a fastener begins.
Powders and Dry Lubricants for Boards That Rub
Where two boards rub edge to edge, dry lubrication is the gentlest cure and the right first attempt. Established home care references, including the flooring guidance published by This Old House, describe lubrication as the fitting response for rubbing boards, as its flooring repair guidance sets out alongside fastening methods for loose sections. Powdered graphite, talc, or a dry lubricant made for floors works down into the seam as you flex the board with your weight, coating the touching faces so they slide silently instead of gripping and releasing with a creak.
Apply it with restraint. Work a small amount into the seam with a soft brush or the edge of a card, step on the board repeatedly to draw the powder deeper, then sweep away the surplus before it spreads across the room on socks. Repeat once if the sound fades but lingers. What you must not do is flood the seam with oil. Oil soaks into timber, stains bare boards, attracts grit that grinds in the joint, and can swell the wood enough to trade a squeak for a lifted edge that clicks instead.
Hardwood answers this treatment best, since open seams between boards give the powder a path in. Work along the full length of the noisy seam rather than one heroic spot, because boards rub along a run, not at a point. On carpeted floors there is no seam to reach, so lubrication from above is rarely practical, and your honest options narrow to fastening from above with the right kit or working from below where access allows. Knowing which floor you have saves buying powders that can never reach the surfaces that need them.
Snap Off Screws That Pull Loose Flooring Tight
Where a board or the layer beneath it has lifted away from the beam, a purpose made snap off screw kit earns its modest cost. The kit drives a threaded fastener through the floor into the beam, pulls the loose layers down tight, and then snaps the screw head away below the surface, leaving nothing hard standing proud under carpet or under bare feet. A guide jig in most kits keeps the drive straight and stops the break at the right depth, which is the detail that makes the system safe for finished floors.
Beam location returns to centre stage at this step, since a screw that misses the beam holds nothing and merely wounds the floor. General reference material on joists explains how these beams carry the floor and run at regular spacing in one direction, and the overview of joists in floor construction is worth reading before you trust a pencil line with a drill. Screws are preferred over nails for a plain reason. Nails work loose under repeated flexing as smooth shanks slip, while a thread grips the timber and resists that slow withdrawal year after year.
Carpet demands the proper kit and forbids shortcuts. Never drive an ordinary screw through carpet, because the spinning thread catches the pile and twists a runnel of torn fibres across the surface in seconds. The snap off systems made for carpet include a fixture that holds the pile safely aside while the fastener drives beneath it. On hardwood, drill through the board only at the beam line, accept the small filled mark as the price of silence, and match any filler to the board tone while the repair is still fresh in your mind.
Drive one fastener, then test by stepping hard on the spot before driving another. Floors often need fewer fixings than enthusiasm suggests, and each extra hole is a small permanent change bought with no benefit. Work outward from the worst point of movement while the noise retreats, and stop the moment the board feels and sounds solid. If several driven screws on a true beam line fail to quiet the area, the movement may live deeper, in a beam end or a support below, and that finding belongs in the final set of options rather than in further drilling.
Extra Options When the Space Below Is Open
Homes with a cellar, a crawl space, or an open ceiling below hold a bonus set of remedies, since the whole structure can be reached without touching the finished surface at all. A helper standing on the floor above while you watch from beneath is worth more than any tool here. The moving joint shows itself directly, often as a visible gap opening and closing between board, underlayer, and beam as weight shifts, and remedies can be aimed at exactly that gap instead of at a guess made through carpet.
Thin wooden shims, tapped gently into a gap between the underlayer and a beam with a little adhesive, end many below floor squeaks elegantly. Gentle is the operative word. A shim hammered home hard enough to lift the floor trades a squeak for a hump, so slide it in until it bears, test from above, and trim the surplus flush. Where a fixing from below is possible, a screw driven upward into the floor layers without breaking the surface above pulls sections together invisibly, though its length must be judged with real care.
Keep these options in their proper place, as bonuses rather than the main event. Most homes in this situation have no open space below the noisy room, and the remedies from above, lubrication and snap off fastening, already answer the great majority of squeaks without anyone crawling anywhere. If the space below is open but the movement turns out to sit in a beam itself, or a support looks cracked or sagging, stop and bring in a carpenter. Structural timber is a different conversation from a noisy board, and it deserves qualified eyes before any repair begins.


