
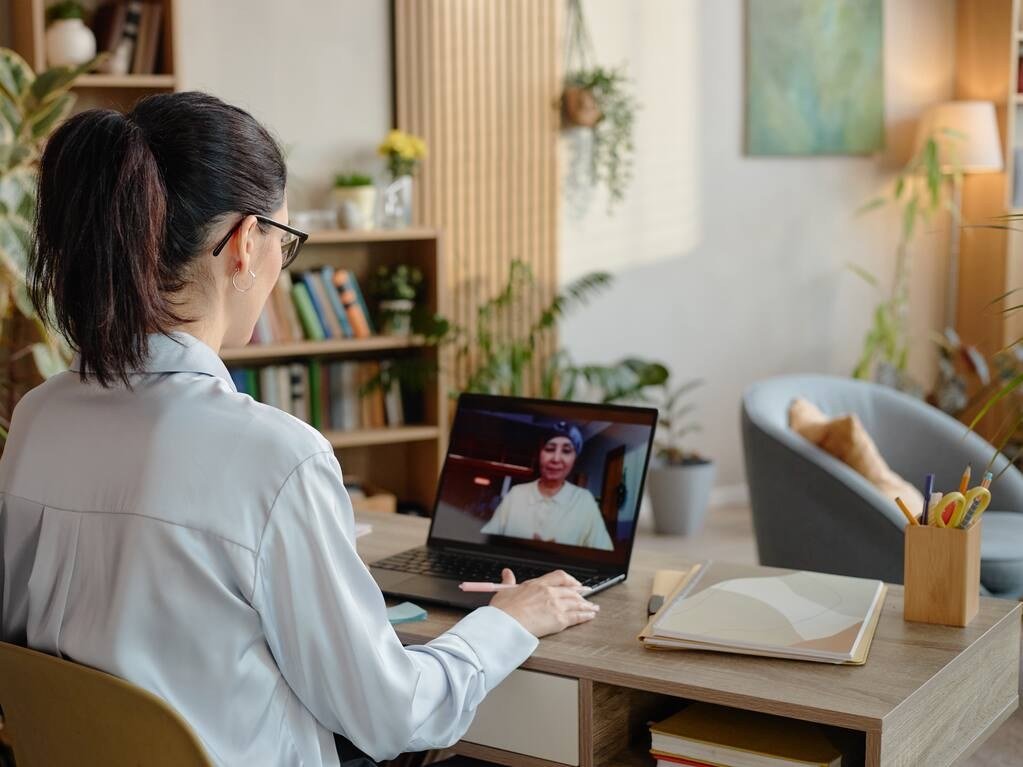
Blurry video and a voice that cuts out make a remote worker look unprepared, yet the cure is rarely new equipment: a stable connection, a window in front of the face and a modest microphone fix nearly every call. The four pillars of a good call are the connection, the light, the camera and the sound, and they repay attention in that order, with the network first and the camera last. Most remedies are free and quick, which is why the expensive gear can wait until the free steps have been tried properly. This piece works through the pillars in order of impact, then covers the software settings, the sensible order for spending, and the small professional touches that lift an important call. Readers on a weak link should start with the notes on improving video call quality on a slow connection alongside the network section below.
Stabilise the Connection Before Touching Anything Else
Most call troubles are network troubles, and the first thing to understand is that steadiness matters more than headline speed. For video calls, a steady upload counts for more than download, because the call must push a continuous stream outward, and a link that wavers will freeze the picture no matter how fast it claims to be. Run a speed test before blaming the camera, and watch whether the upload figure holds steady across the test rather than spiking and dipping. The single biggest quality jump for an important call comes from a wired connection, so plug a cable in when the call matters and let the wireless link rest. Move closer to the router when a cable is out of reach, and ask others in the house to pause streaming and large downloads for the duration of the call. Close cloud backup tools and anything else that pushes data upward in the background, since a backup starting mid-call will steal the upload the call needs. Inside the call application, switching off high-definition video when the link struggles is a kindness to everyone on the call: a stable standard picture beats a stuttering sharp one every time. Test the setup with a friend before the important meeting, and ask them to report precisely what they notice, since a precise report points at the network or away from it far faster than guessing. A call that freezes every half minute points at the connection; a call that sounds robotic throughout points elsewhere. Fix the link first, and the rest of the advice in this piece starts from a firm footing.
Face a Light Source and Lose the Silhouette
Light matters more than the camera itself, and the rule is simple: sit facing the light, never with bright glass at your back. A window facing the speaker is the finest free video light there is, giving soft even illumination that no cheap lamp can match, while a bright window behind turns the speaker into a dark outline that no lens can rescue. If the only window sits behind, shut the blinds and switch on a lamp instead, since a controlled lamp in front beats an uncontrolled window behind every time. Overhead light alone casts harsh shadows under the eyes and chin, so add a desk lamp or a ring light behind the monitor when no facing window exists, placed low enough to light the face rather than the ceiling. Test with the camera preview before every important call, and look at the picture as a stranger would: is the face bright and clear, or is it a shadow with a glowing rectangle behind it. The background matters too, since a bright lamp or a sunlit doorway behind the head will pull the camera exposure away from the face. A plain wall behind the speaker keeps the attention where it belongs, and a subtle blur from the call application can tidy a messy room without demanding a rearrangement. These lighting fixes cost nothing or next to nothing, yet they improve the picture more than a dear webcam ever could, because the camera can only record the light it is given. Get the light right first, and even a modest built-in camera produces a picture that looks professional.
Raise the Camera to Eye Level
Position changes presence more than any purchase, and the first move is to raise the camera to eye level. A laptop sitting flat on a desk aims its camera upward, which is unflattering and unprofessional, while a stack of books or a small stand under the machine lifts the lens to meet the eyes. Frame the shot from the chest upward with a little space above the head, and check what sits visible behind the shoulders before joining. Clean the lens, since a smeared laptop lens stays hazy no matter the settings. Modern laptop cameras are adequate once the light is right, so a dedicated webcam is only worth buying when the built-in camera is genuinely poor, and even then a modest high-definition model is the sensible ceiling. Call applications squeeze video hard, so a premium camera’s extra resolution never reaches the other side, which is why spending on resolution is the weakest use of money in the whole setup. A webcam that sits on top of the monitor at eye level, rather than below it, also helps with the appearance of eye contact, since glancing at the lens rather than at the faces on screen reads as attention. Keep a drink close and a pad for points to raise, join a few minutes early to test sound and picture without an audience, and share only the relevant window rather than the whole desktop, so stray notifications never appear mid-presentation. Small courtesies of framing and preparation cost nothing, yet they separate a polished call from a blurry one far more reliably than new hardware does.
Upgrade the Microphone Before the Camera
Ask any professional and the answer is the same: listeners forgive a soft picture far sooner than they forgive bad sound. Built-in laptop microphones gather keyboard tapping, room echo and the hum of the air conditioner, and they sit far from the mouth, so every flaw in the room reaches the other side. The highest-impact upgrade is also the cheapest: wired earbuds with a microphone outperform any laptop microphone by a wide margin, and a dedicated desk microphone sounds better still. Soft furnishings reduce echo in bare rooms, so a rug, a curtain or a bookshelf behind the speaker does real acoustic work for no outlay at all. Enable the noise suppression built into the call application, since the major applications all include it now, and set it to its strongest level to erase keyboard clatter and background noise. Mute discipline matters in large meetings: stay muted while listening, unmute to speak, and the whole room sounds cleaner for it. Speak across the microphone rather than directly into it, keep the mouth a handspan away, and the voice stays warm without pops and blasts. A better microphone lifts how the call sounds more than any other single purchase, which is why it sits first in the spending order below, ahead of lights and cameras alike. The voice is the message on a call, and the picture is only its frame, so spend where the message lives.
Tune the Call App Settings for a Weak Link
Software settings are the quiet lever that many people never touch, and a few minutes inside the application can rescue a struggling call. Set noise suppression to its maximum in the audio settings, and switch on the low-light adjustment where the application offers it, since both exist precisely for imperfect rooms. Turn on background blur for a tidy backdrop, though virtual backgrounds need good light to avoid glitchy edges, so blur is the safer choice in a dim room. Disable high-definition video when bandwidth is tight, and keep the application updated, since performance and quality improve steadily with each release. Close competing applications before joining, because browsers with many tabs open and cloud tools syncing in the background steal processing power from video encoding. If the call still struggles, try a different application to separate a software fault from a network fault, and try a different device too: when a phone call sounds better than the laptop, the laptop hardware or its drivers are suspect. Ask a friend to report precisely what they notice, since a precise report beats a vague complaint, and systematic diagnosis beats random upgrades every time. The videoconferencing reference on Wikipedia gives background on the video meeting technology itself for readers curious about what happens between the camera and the screen. A short settings check before each important call, done as a habit, prevents most of the mid-call fumbling that makes a speaker look unprepared. A wired connection remains the strongest option for a call that must not drop, as the Ethernet reference on Wikipedia explains.
Rehearse the Setup Before the Important Call
The final step is rehearsal, and it costs nothing but a few minutes. For interviews and presentations, dress fully as for an in-person meeting, since it affects confidence as much as image. Keep the spending order in mind for anyone still shopping: microphone first, light second, camera third, stand last, and skip the dear webcams, the elaborate streamer lights and the green screens, since the call compresses everything until dear equipment makes no visible difference. When quality stays poor despite the fixes, work the troubleshooting ladder: test another application, test another device, ask a friend for a precise report, and check whether the machine is overheating, since a hot laptop throttles video encoding. These no-cost and low-cost steps clear up almost every complaint about quality, and the expensive gear can wait. A steady link, a window in front of the face, a camera at eye level, a modest microphone and a short rehearsal together produce a call that looks and sounds professional, without any single purchase doing the heavy lifting alone. The habit to build is a two-minute check before every call that matters: test the sound, glance at the light, confirm the framing, and then join with confidence rather than hope.


One comment