
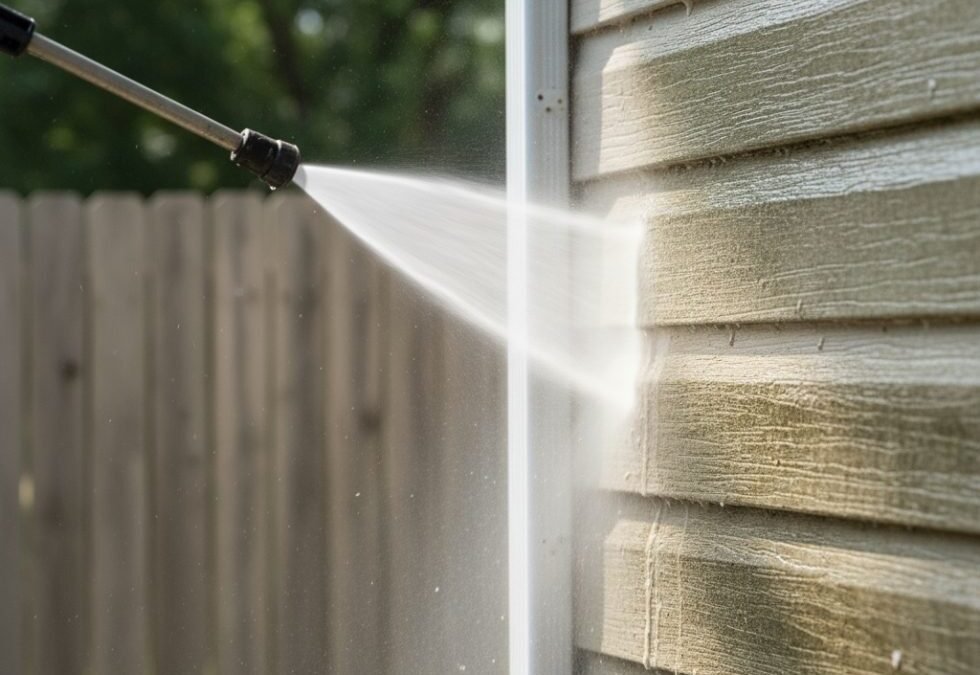
Grime makes a house look tired long before paint actually fails, so washing the outer walls can feel like an instant renewal. Handled carelessly, though, a strong jet can scar soft boards, dent thin panels, and push moisture where it never belongs. The safer path treats cleaning chemistry and patience as the real workers, with water pressure kept modest and controlled. Work through the stages slowly and most homeowners can refresh ordinary siding without hiring anyone. Preparation decides the outcome long before the trigger gets pulled, because covered plants, sealed openings, and a tested patch protect everything that enthusiasm alone cannot repair later.
Phase One: Cover Plants Outlets and Openings Before Any Water Flows
Begin by walking the full perimeter slowly, notebook in hand, noting loose boards, cracked panels, peeling paint, and gaps around window frames and door seals. Every weakness found now becomes a place to avoid, soften, or repair before water arrives under pressure. Cover shrubs and prized planting with breathable sheeting, move pots and garden furniture well away from the walls, and soak the soil around beds so any cleaner landing there arrives diluted. Outdoor sockets, light fittings, vents, and alarm sensors need plastic and tape protection, and windows and doors should be latched fully shut rather than merely pulled closed.
Clearing the working zone also means dealing with everything leaning, hanging, or stored against the walls. Ladders, bikes, bins, and stacked timber create shadows that wash unevenly and trip hazards once hoses start snaking across wet ground. The same preparation visit suits the rainwater hardware overhead, and anyone planning seasonal upkeep can combine the trip with learning how to clean gutters safely before washing walls so debris does not spill down freshly cleaned siding during the next heavy rain. Clearing leaves and checking downpipe joints at this stage also reveals blocked sections that would otherwise overflow across the clean surface and leave muddy streaks within days.
Older paint deserves special caution during this survey. Homes painted long ago may carry coatings containing lead, and blasting such surfaces can scatter contaminated flakes and runoff across soil and paths. Where age or testing raises that concern, washing should pause until proper advice has been taken, and gentle hand cleaning may be the only responsible route. Even without that worry, flaking paint signals a surface that high pressure will strip further, leaving bare patches that then need priming and repainting. Recording those areas with photographs helps later comparison and keeps expectations honest about whether washing alone will restore the appearance or simply reveal maintenance that was already overdue.
Phase Two: Test a Hidden Patch and Set Distance by Hand
Choose a discreet area behind a downpipe or beneath a low shrub and treat it as a rehearsal for the whole house. Start with the widest fan nozzle available, hold the lance at a generous distance, and make a single slow pass before inspecting the result at close range. Clean timber, painted boards, and manufactured panels each respond differently, so the test patch tells the truth about pressure, distance, and dwell time better than any general advice. If the surface shows raised grain, lifted paint edges, or a fuzzy texture, the jet is too strong or too close, and settings must soften before moving onto visible walls.
Technical background supports that cautious approach, since reference material on pressure washing and surface cleaning methods explains that results hinge on spray spread and on how far the nozzle sits from the surface being treated. Distance works as a pressure control in its own right, because a jet spreads and loses energy as it travels through air. Moving closer should happen gradually, in small steps, with a fresh inspection after each pass, rather than in one bold advance when grime looks stubborn. Stubborn marks usually respond better to longer chemical contact and a second gentle pass than to a concentrated blast held in one place.
Nozzle choice matters as much as distance throughout the job. A wide fan suits general wall areas, a slightly narrower fan can help on robust masonry, and a pinpoint jet has no place on siding at all because it concentrates force into a cutting stream. Keep the lance moving constantly, even while judging a patch, since a stationary jet drills into soft material within moments. Working from a stable stance with both hands on the lance prevents the kick and wander that cause accidental gouges. Eye protection, firm footwear, and gloves belong in the setup as standard, because rebound spray carries grit back toward the operator at surprising speed.
Phase Three: Let Cleaner Loosen Grime While Pressure Stays Gentle
Apply a siding suitable cleaning solution from the bottom upward, working in sections small enough that the surface never dries mid treatment. Bottom up application prevents dirty streaks running down dry wall and hardening into visible lines. Give the solution time to loosen algae, traffic film, and mildew so the rinse can lift them away with modest force. That waiting period is the heart of soft washing, where chemistry does the heavy work and water simply carries the loosened dirt away. Rushing this stage tempts operators to compensate with pressure, which is exactly where avoidable damage begins.
Different stains deserve different patience. Green algae on shaded north facing walls usually releases readily once cleaner has soaked in, while blackened streaks beneath sills may need a soft brush worked gently across the surface. Rust marks near fittings and white salt deposits on masonry respond poorly to force and may need specialist products or acceptance that some staining will fade rather than vanish. Avoid mixing cleaning products, follow dilution guidance on the container, and keep children and pets indoors until rinsed surfaces have dried. Protecting drains and nearby ponds from concentrated runoff also belongs in responsible practice, since cleaner that helps a wall can harm aquatic life quickly.
Weather shapes this stage more than many people expect. Strong sun dries solution before it can work, wind carries spray onto windows and neighbouring property, and cold surfaces slow chemical action noticeably. A mild, still, overcast day gives the most forgiving conditions for even results. Working in the shade side first and following the shade around the building keeps each section damp for its full soaking period. Where sun cannot be avoided, smaller sections and a light mist of plain water keep the cleaner active without flooding it off the wall before it has done its job properly.
Phase Four: Rinse Downward in Long Overlapping Sweeps
Rinsing reverses the application direction, starting at the top and moving downward so loosened dirt flows over still dirty wall rather than over clean sections. Long, even sweeps with generous overlap prevent striped results, and keeping a consistent distance throughout each pass maintains an even finish. Angle the jet slightly downward and across the surface rather than firing straight into joints or upward beneath overlapping boards. Water driven upward can slip behind panels, soak insulation and timber, and emerge days later as interior damp or peeling paint, turning a cosmetic job into a building problem.
That risk is well documented for manufactured cladding, and householders can read how overlapping vinyl siding panels shed water when spray stays downward to understand why upward jets defeat the drainage design built into the laps. Each panel is shaped to shed rain falling from above, not to resist a hose forcing water uphill beneath it. The same caution applies around window trims, meter boxes, and cable entries, where a brief pause and a wider distance protect seals and gaskets. Rinsing those details separately, at the softest effective setting, keeps the finish even without gambling on hidden entry points.
Pace the rinse by section rather than wandering across the whole elevation. Complete one wall fully, step back to judge it in natural light, and only then move equipment around the corner. Wet siding looks darker and cleaner than it will once dry, so early judgement can mislead, and a section that seemed finished may show missed bands an hour later. Keeping hoses and cables organised behind the working area avoids dragging them through flower beds or across freshly rinsed paths. Breaks matter as well, because tired arms hold the lance closer and less steadily, quietly undoing the careful distance discipline established at the test patch.
Phase Five: Walk the Walls Again and Note Paint or Damage Revealed
Once surfaces have dried fully, walk the perimeter again in good light and compare each wall with the photographs taken during preparation. Washing often reveals hairline cracks, failing sealant, soft timber, and paint that had been hiding beneath dirt, and catching those items now allows calm planned repairs instead of emergency work later. A written list with locations marked plainly, such as beside the kitchen window or above the side gate, makes later quoting and maintenance far simpler. Small touch ups, such as resealing a joint or priming a bare patch, protect the fresh appearance far longer than the wash alone.
Remove coverings from plants promptly, rinse foliage and soil where cleaner landed, and coil hoses only after checking outdoor sockets and fittings are dry and undamaged. Inspect ladders, access points, and gutters for splash back debris that rinsing may have loosened. Gutters that overflowed during rinsing deserve clearing before the next rain rather than after a stain appears. Record which cleaner, nozzle, and distance worked best on each wall type, since that note turns the next wash, perhaps years away, into a far shorter learning process and protects delicate areas from repeated experimentation by a future owner or a different family member.
Judge the result with realistic expectations rather than disappointment over every remaining mark. Some discoloration lives inside aged material rather than on its surface, and no safe washing method will lift it without harming the wall itself. The achievement lies in a brighter, evenly cleaned exterior achieved without scars, dents, or water forced into the building fabric. Walls treated gently also stay cleaner longer, because undamaged surfaces shed dirt and moisture better than roughened ones. A slow, phased approach may feel unhurried compared with dramatic before and after videos, yet it delivers the renewal homeowners wanted while keeping the house sound underneath its refreshed face.


One comment