
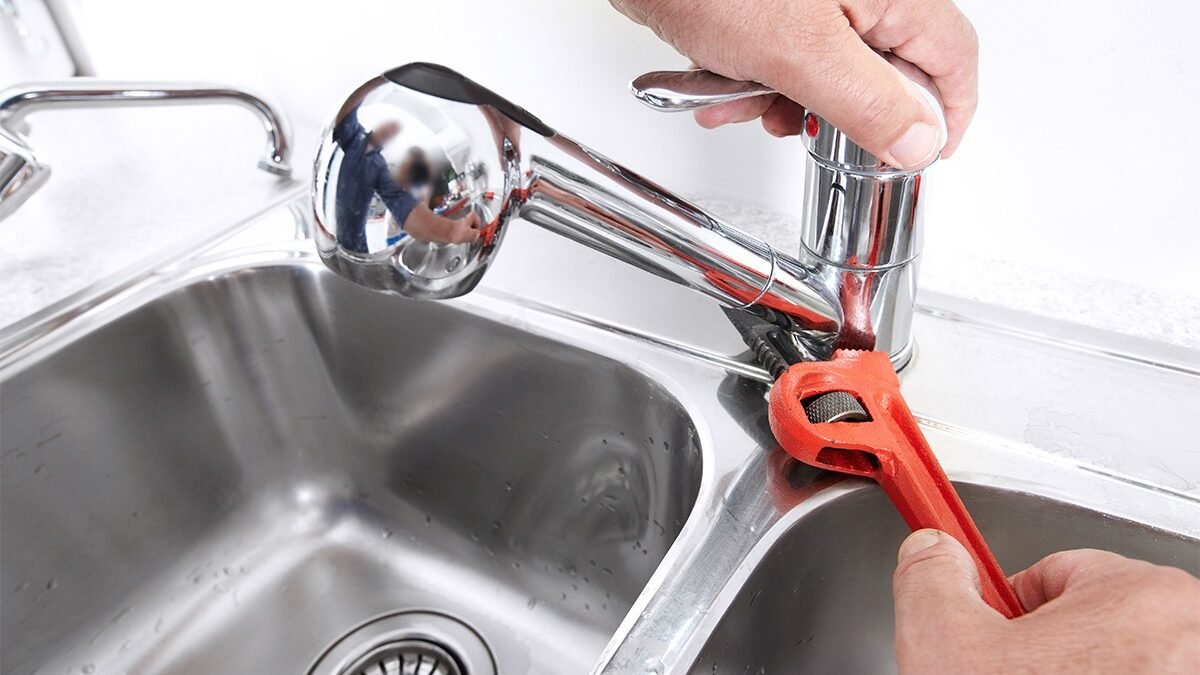
That patient tapping from the sink usually traces back to one tired sealing part, not a failing plumbing system. Water finds the worn edge, escapes drop by drop, and keeps the same rhythm all night long. Naming your faucet design first turns a mysterious leak into a short repair with ordinary hand tools. Shut the supply away, keep every removed piece in order, and quiet can return before lunch.
The repair itself is simple, even when the drip has been keeping you awake. Most household faucets seal water in one of two ways, with a rubber washer pressed onto a seat or with a cartridge containing the sealing surfaces inside it. When the seal tires, water slips past. The fix is to identify the design, shut off the supply, lift the mechanism out in order, replace the worn sealing part like for like, and rebuild in reverse.
Why a Tired Washer Seal or Cartridge Keeps Water Moving
A faucet is a valve with a handle, and every handle works by pressing something soft against something hard to hold water back. In older compression designs, turning the handle drives a rubber washer down onto a metal seat. In cartridge designs, the handle moves a replaceable insert whose seals open and close passages as it turns or lifts. Either way, the sealing edge does all the real work, and sealing edges wear. Grit in the water supply scratches them, age hardens rubber, and mineral deposits roughen the surfaces they press against. Once the seal no longer closes fully, water finds the gap and the drip begins.
An overnight drip is a useful clue, because it points to steady supply pressure pushing past a tired seal rather than to a fault in the wider pipework. Anyone weighing up help with leaky faucet drips that run all night is usually looking at the same worn parts examined here. Guidance published by the United States Environmental Protection Agency on fixing household leaks puts scale on the problem, noting that a tap dripping once each second can waste upwards of three thousand gallons across a year.
Naming Your Faucet Style Before Any Part Comes Off
Correct identification prevents the classic wasted trip, where a dismantled sink sits useless while the wrong replacement part sits in its packet. Technical descriptions of how a tap valve controls water flow explain the fitting as one that governs flow, opened and closed by handles connected to internal sealing parts, and the variety on sale follows from that simple job. Compression faucets have two handles that screw down with a noticeable turning and tightening feel. Cartridge faucets move more smoothly, often with a quarter turn or a single lever. Ball and disc designs also exist, mainly in single lever kitchen faucets, and each family uses different seals in different places.
Handles offer the first clues. Two separate handles with a screwing action strongly suggest compression stems with washers beneath. A single lever that lifts and swings usually hides a cartridge or a ball assembly. Brand markings, often printed on the cap, the handle, or the back of the spout base, unlock the maker name, and the maker name unlocks the exact cartridge or washer size. Photograph the faucet before touching anything, and photograph each stage of dismantling as well.
Water Off Parts Laid Out in Order and Seals Swapped
Every repair begins with the water shut off at the valves beneath the sink, or at the main supply where no local valves exist or the old valves refuse to close. Open the faucet after shutting the supply to drain what remains and to prove the water is truly off. Plug the sink drain before removing anything, because screws and small seals have a lifelong ambition to disappear down it. Lay a towel beside the sink and place every removed part on it in the order it came off, left to right, like a sentence you will later read backwards. That simple line of parts is the whole secret of a calm rebuild.
With the handle removed and the stem or cartridge exposed, work gently. Stems unscrew with a wrench on the flats provided, never on round surfaces that crush. Cartridges often need a firm straight pull, sometimes helped by a dedicated puller where scale has glued the insert in place. Note the orientation of everything, since many cartridges only seal correctly when their tabs and ports align exactly as designed. The worn washer sits at the end of a compression stem, held by a small screw, while cartridge seals sit in grooves around the insert. Replace like for like, matching size and shape, because near enough in seals usually means dripping by the weekend.
A light touch of plumber grease on new rings helps seals seat smoothly and eases later dismantling, a small kindness to whoever does this job next, possibly you. Rebuild in exact reverse order, tightening firmly without forcing, since crushed seals fail early and cracked housings fail expensively. Turn the supply back on slowly with the faucet open, let air and loose grit escape, then close and watch. A good seal shows itself simply. The spout stays dry, the handle feels even, and silence returns to the kitchen.
Base Leaks Sprayer Drips and Blocked Aerators Sorted Separately
Not every leak at a faucet comes through the spout, and treating a base leak as a washer problem wastes an afternoon. Water pooling around the base usually means the seals between the faucet body and the sink, or the rings around the moving spout on kitchen models, have tired. Those seals are replaced by lifting the spout or body as the design allows, cleaning the seating surfaces, and fitting fresh rings with a light coat of grease. Water appearing only when the tap runs, then vanishing, fits this pattern well, because supply pressure inside the body pushes water outward past the worn ring while the tap is open.
Side sprayers on kitchen sinks drip for their own reasons. A sprayer that weeps at its head or leaves the hose end damp often has a worn seal inside the spray head or a diverter inside the faucet body that no longer switches flow cleanly. Rinsing the spray head in a bowl of warm water with a little vinegar dissolves scale that holds its valve open, and many sprayers recover with cleaning alone.
Aerators cause a different family of complaints. The small mesh cap at the end of the spout traps grit and scale until flow splutters, sprays sideways, or slows to an uneven trickle that looks like a deeper fault. Unscrew the aerator by hand or with a cloth wrapped wrench, rinse its screens, soak stubborn scale away, and refit it snugly. While it is off, run the tap briefly to flush loose grit out of the spout rather than into the clean mesh. Sorted separately and calmly, these three faults, base seals, sprayer seals, and blocked aerators, cover most of the leaks and misbehaviour that a healthy faucet body ever produces.
Warning Signs That Mean a Plumber Should Take Over
Some findings change the job entirely, and recognising them early is part of competent repair rather than surrender. A valve seat inside a compression faucet can pit and scar until no new washer will ever seal against it. Seats can sometimes be resurfaced or replaced, yet a badly corroded body usually means the faucet itself has reached the end of its working life. Cracks in the body, heavy green or white corrosion around joints, and stems that crumble as they turn all point the same way. Replacing a faucet is a bigger job than replacing a seal, and it sits comfortably within professional territory for most households.
Supply problems also deserve respect. Shutoff valves that will not close, pipes that flex alarmingly when touched, water staining inside the cabinet, and any sign of damp spreading into the floor or wall all raise the stakes beyond a seal swap. Water damage spreads quietly and costs far more than plumbing help. Low pressure affecting the whole house, discoloured water, or banging and shuddering pipes suggest wider system questions that a single faucet repair cannot answer. A plumber brings testing equipment, spare parts on the van, and liability cover for the day something unexpected lets go.
How can I tell whether my faucet uses a washer or a cartridge?
Handle feel gives the answer in most cases. Two handles that screw down with several turns and a tightening squeeze at the end almost always mean compression stems with rubber washers underneath. A smooth quarter turn, or a single lever that lifts and swings, almost always means a cartridge or similar insert. Maker markings on the faucet confirm the family, and searching the maker name alongside the word cartridge or washer settles any doubt before parts are bought.
Should the water be shut off under the sink or at the main supply?
Use the valves under the sink when they exist and close fully, since they isolate the faucet while leaving the rest of the house supplied. Test them by opening the faucet after closing them, and expect a brief flow that fades to nothing. Where local valves are missing, seized, or still letting water through, close the main supply instead and open a lower tap elsewhere to drain the line. Never begin dismantling on trust alone.
What should I do if the drip returns soon after replacing the seal?
A drip that returns within days usually means the new seal is pressing against a damaged surface, the wrong size was fitted, or grit reached the seal during the rebuild. Shut the water off again, remove the stem or cartridge, and inspect the seat and the seal under good light. Clean every surface, confirm the size against the old part, and rebuild with fresh grease. If the seat itself is pitted, a new washer alone will keep failing, and seat repair or professional help becomes the honest next step.
Can a dripping faucet harm anything beyond wasting water?
Yes, quietly and slowly. A constant drip keeps the drain and trap damp, encourages limescale to build where water lands, and can stain sinks and enamel over time. The greater harm comes when a spout drip is misread and the real leak is at the base or beneath the sink, where water reaches cabinets, flooring, and plaster unseen.


